# AWS S3 Bucket Setting
# Overview
This chapter introduces how to integrate AWS S3 Bucket with GROWI.
This setting makes uploading attachment files and profile images to AWS S3 Bucket available. If SMTP settings are not completed, emails will be sent via SES. You need to verify From email address and production settings.
# How to Configure
# Get AWS Account Information
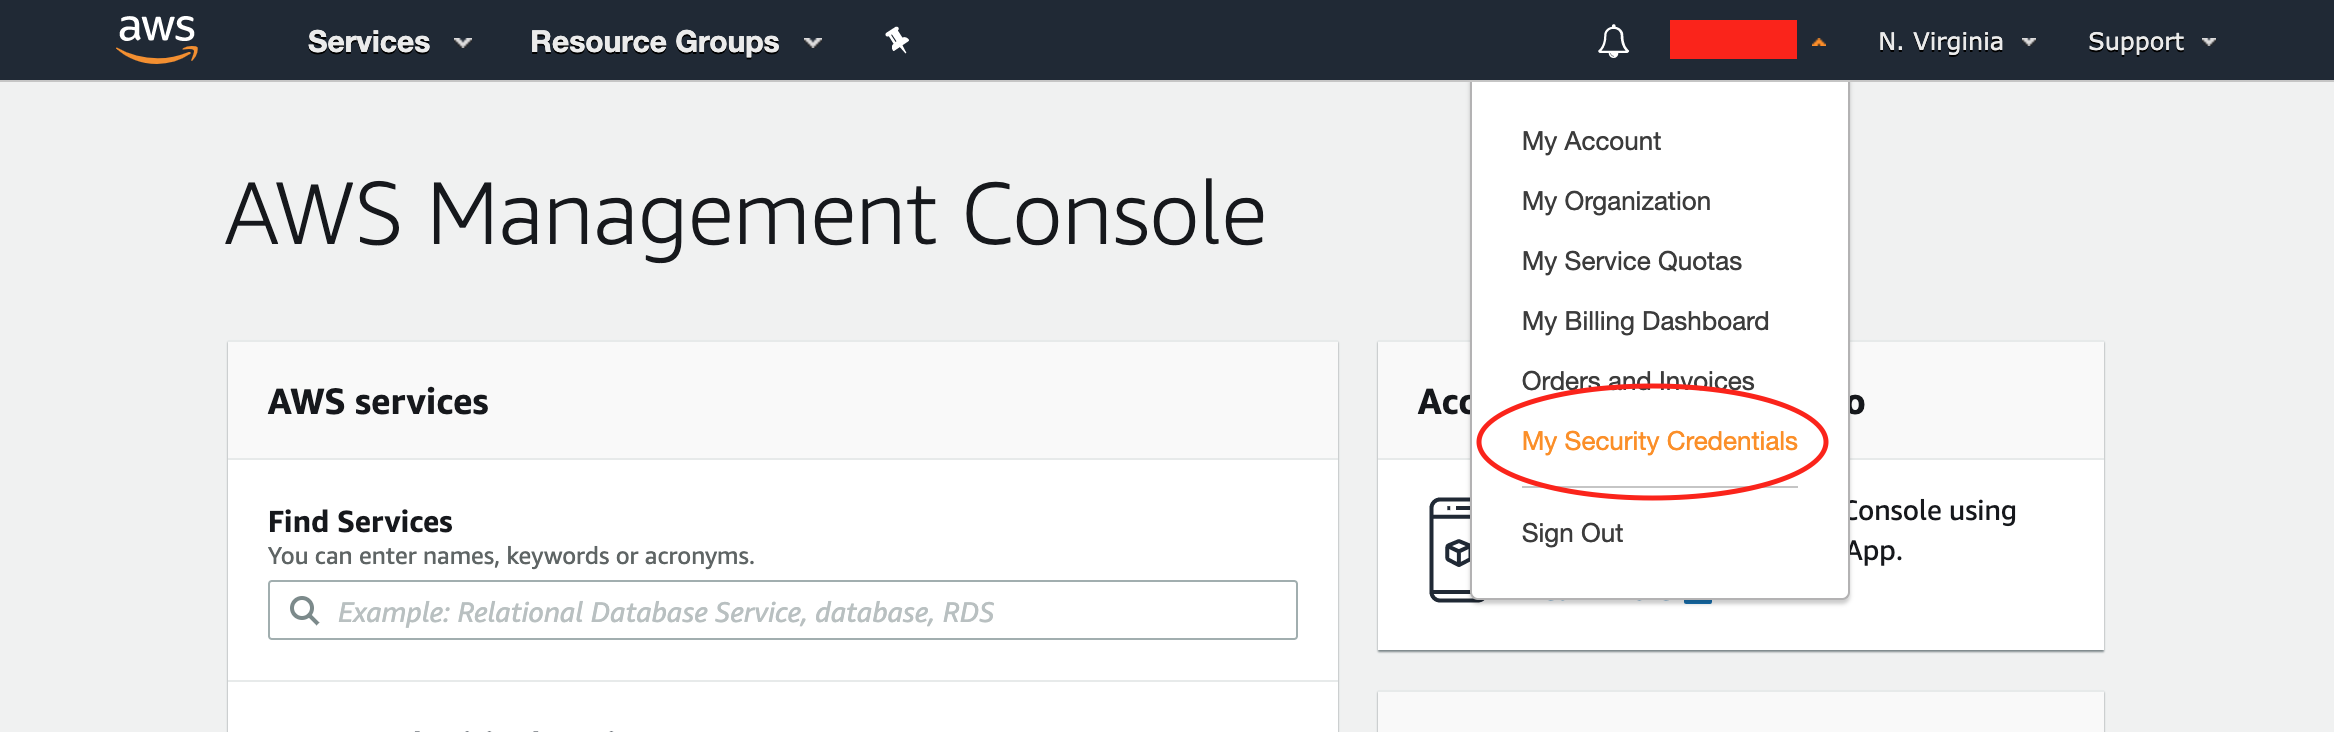
- Sign-in AWS Management Console (opens new window), and click My Security Credentials (opens new window) in drop-down list of account information on the left side of the top bar.
- In the "Access keys (access key ID and secret access key)" tab, create a new access key.
- In the "Account identifiers" tab, check your Canonical User ID.
# Get AWS S3 Bucket Information
- Access to AWS S3 dashboard (opens new window).
- Check the region and name of S3 Bucket that you will register with GROWI.
- Open Permissions page of S3 Bucket.
- In the "Block public access" tab, click Edit button and uncheck the "Block public access to buckets and objects granted through new access control lists (ACLs)" checkbox. Then, save changes.
- In the "Access Control List" tab, if the Canonical User ID that you checked in Step 3 of Get AWS Account Information doesn't match the Canonical ID added to the "Acceess for bucket owner" table, add the ID to the "Access for other AWS accounts" list with full permissions.
# Register Your Bucket With GROWI
- In App settings page (
/admin/app), Input information of S3 Bucket that you checked in Step 2 of Get AWS S3 Bucket Information. - If you use a S3-compatible storage service like MinIO, input the endpoint URL in the Custom Endpoint form. If this form is empty, GROWI uses Amazon S3 by default.