# UserGroup Management
By using the UserGroup Management function, you can set the authority on a page basis that only specific users can view and edit the contents.
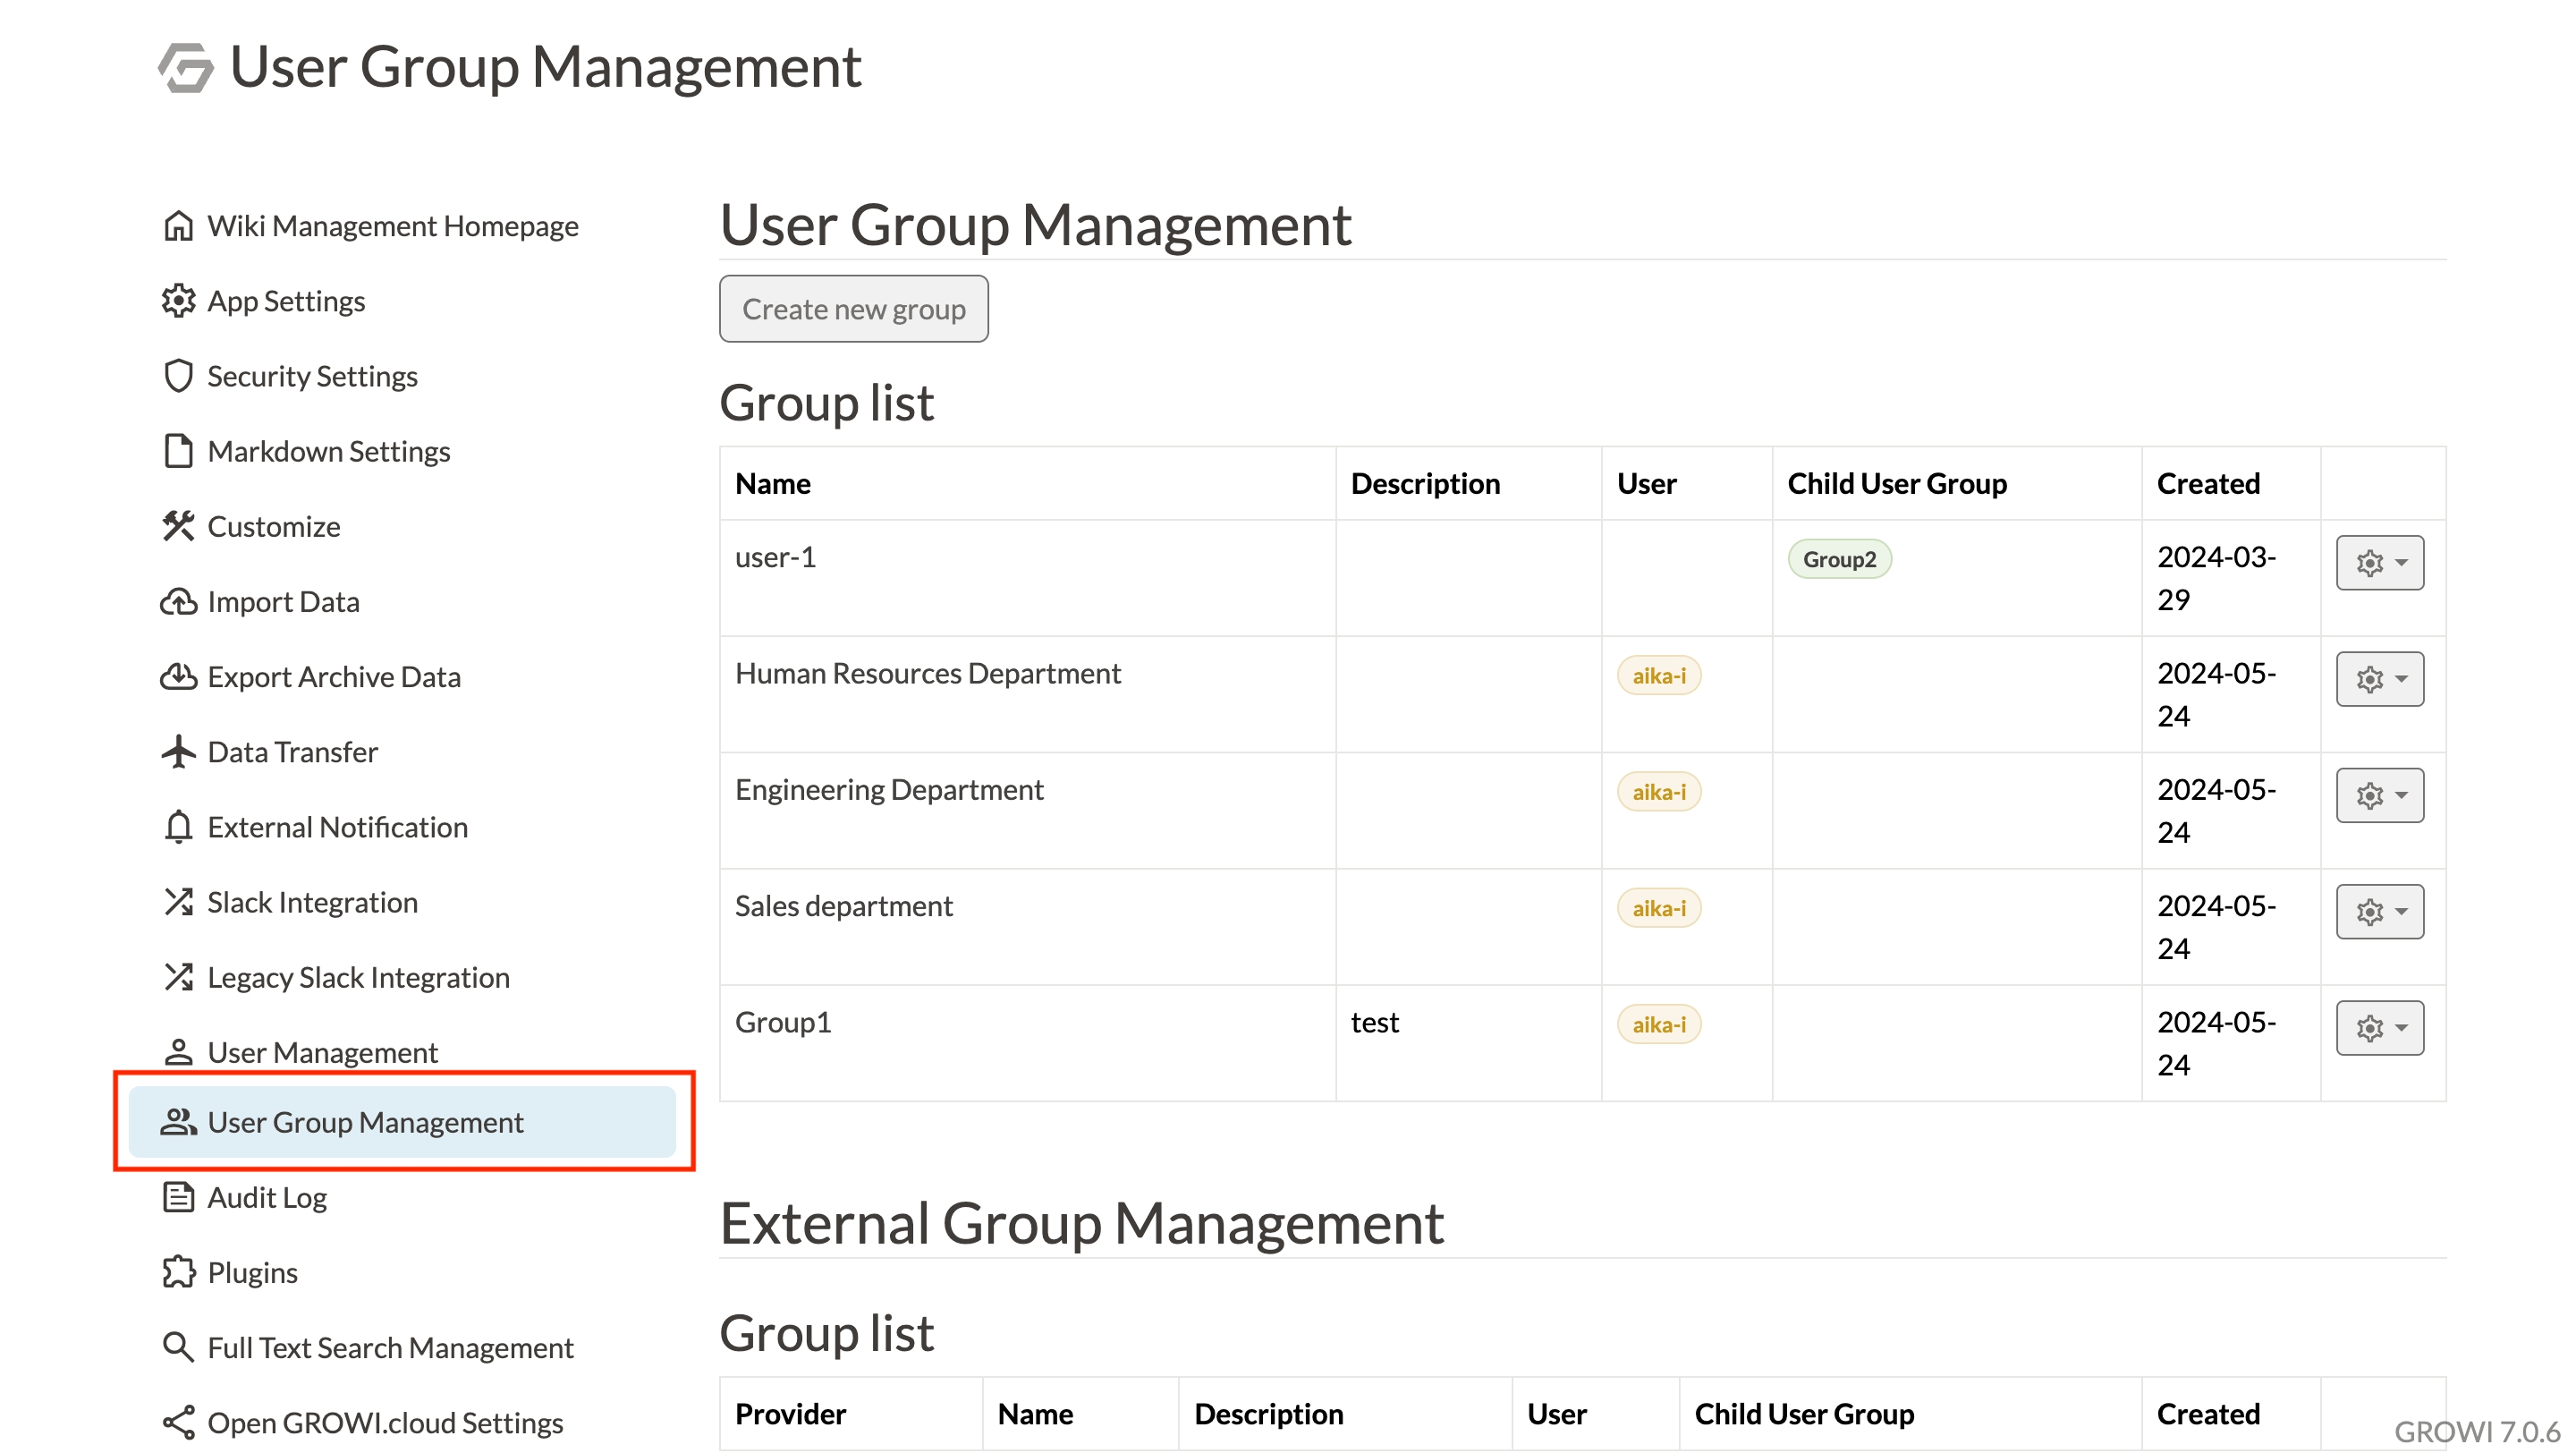
Only authorized users can set groups from the administration menu.
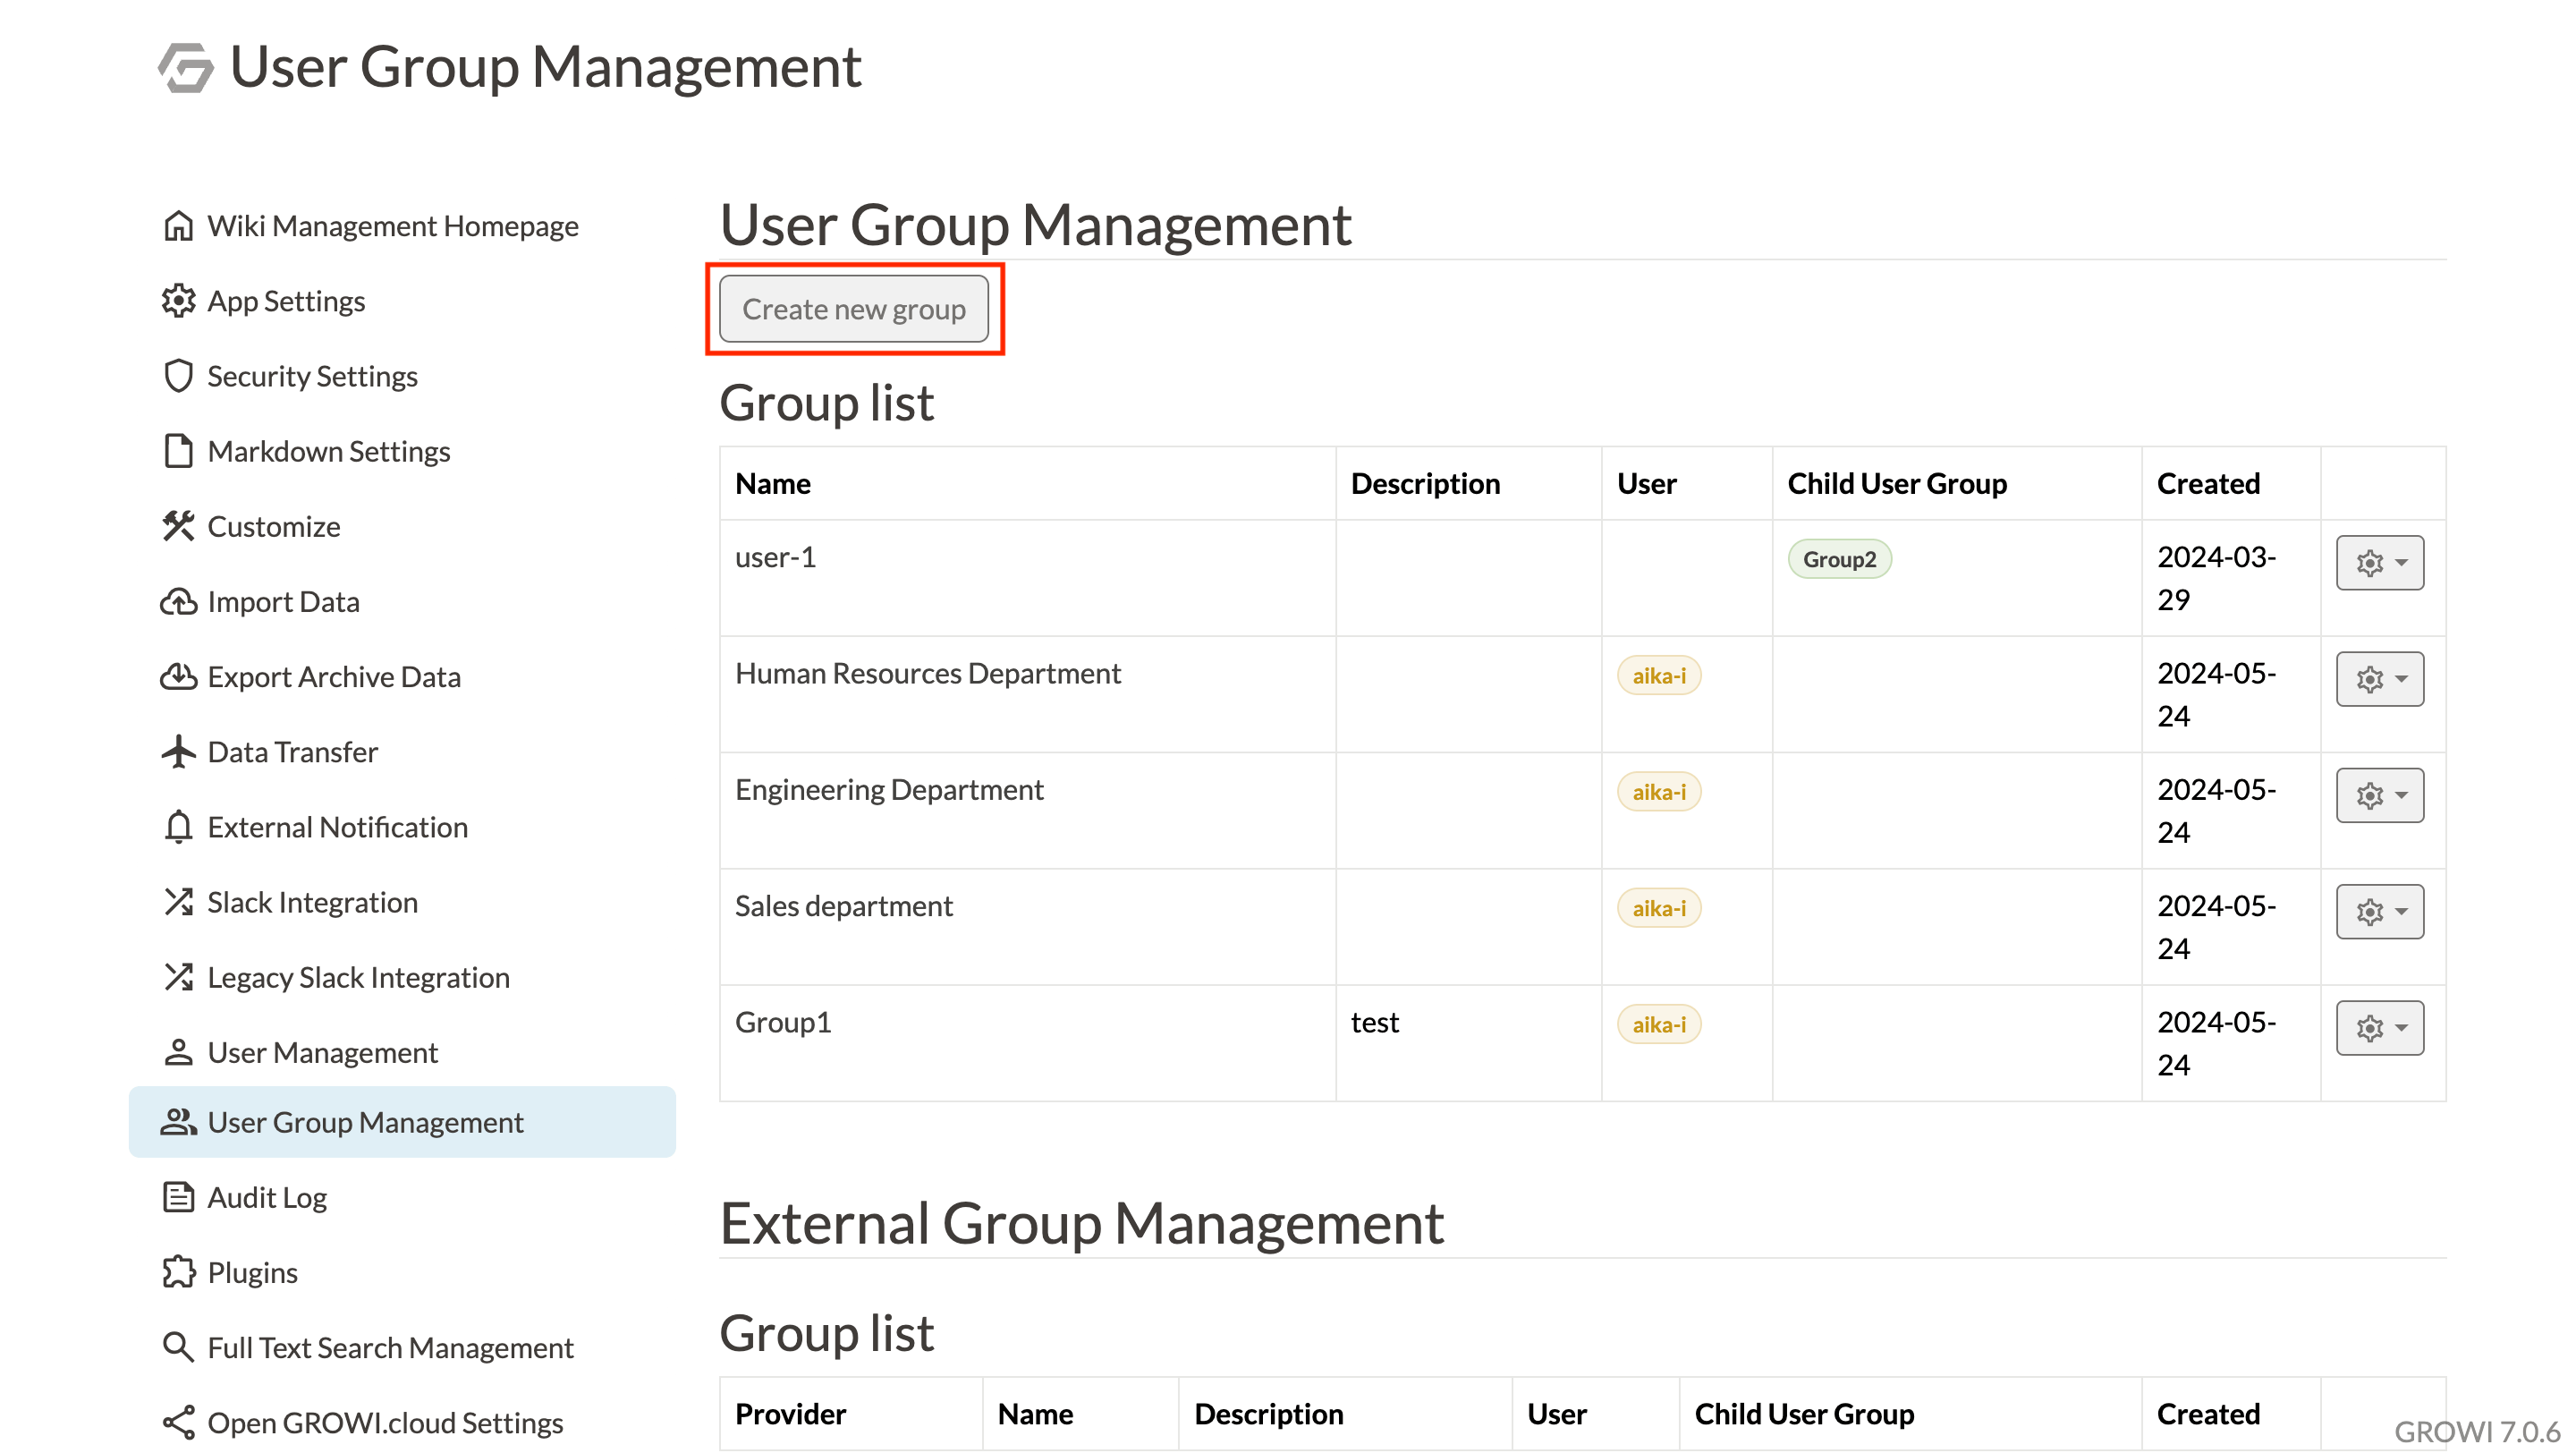
# Create group
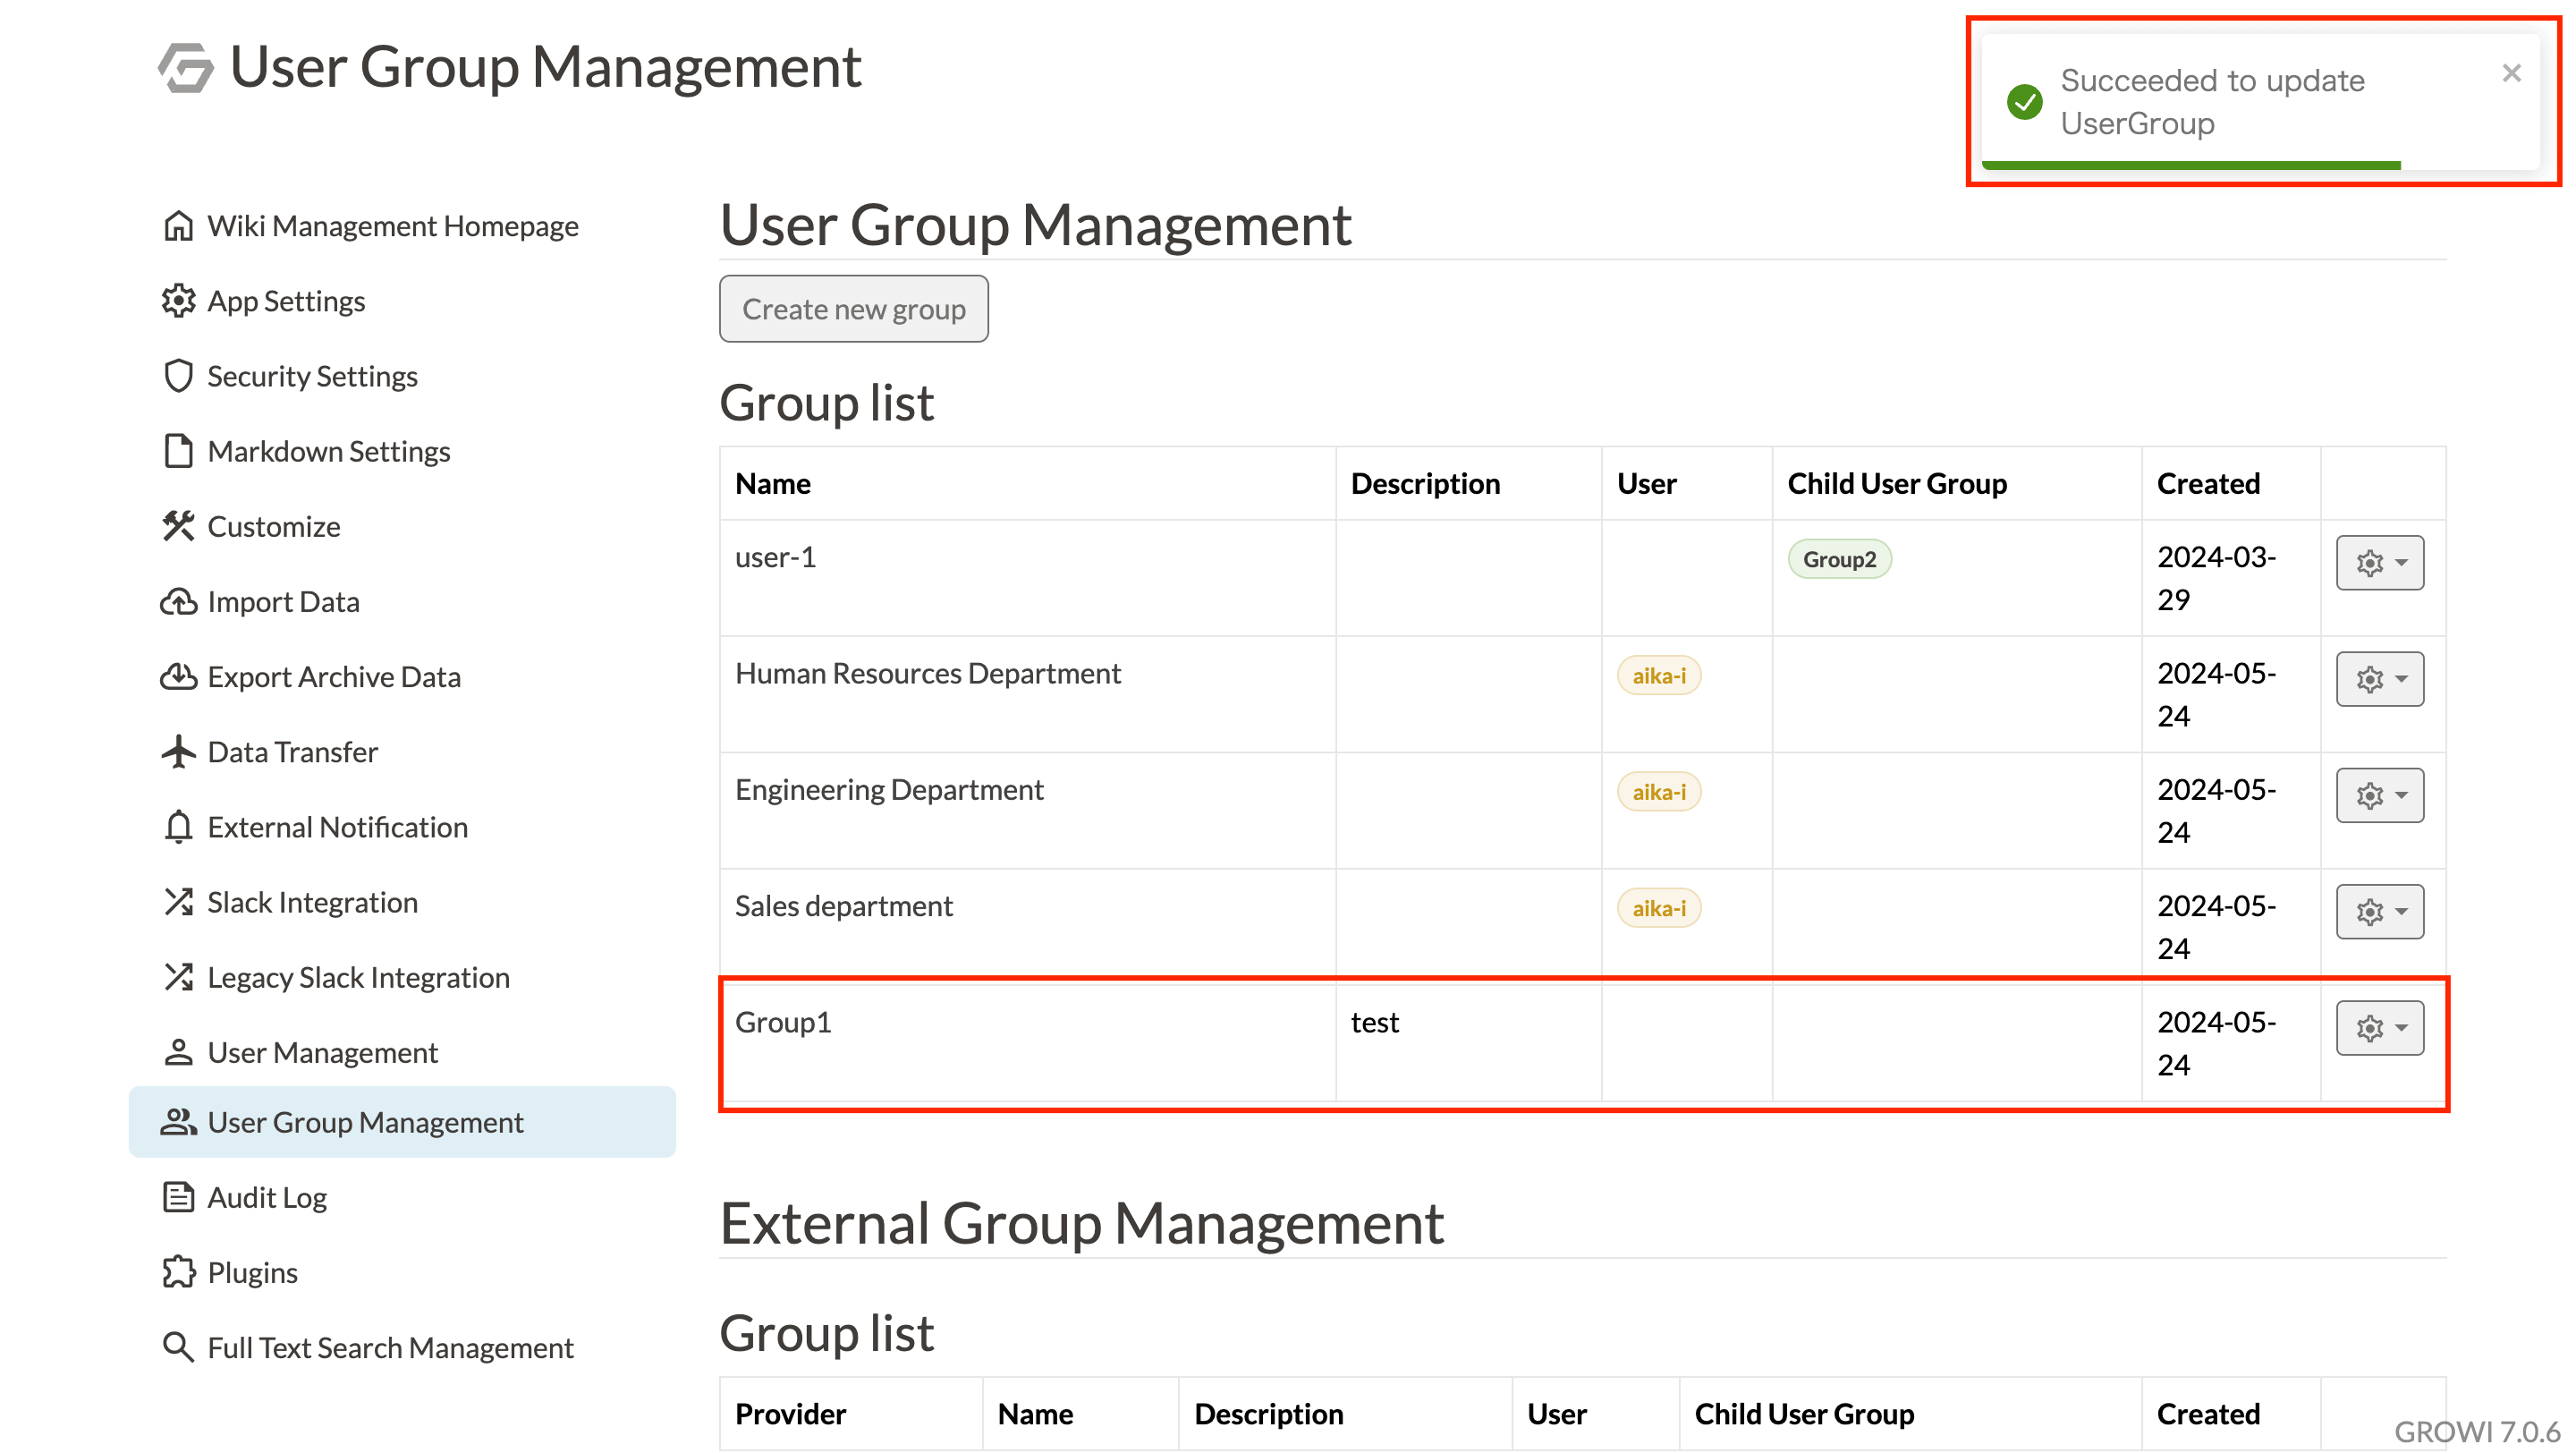
- Go to "UserGroup Management" in the administration menu.
- Click on the "Create new group" button.
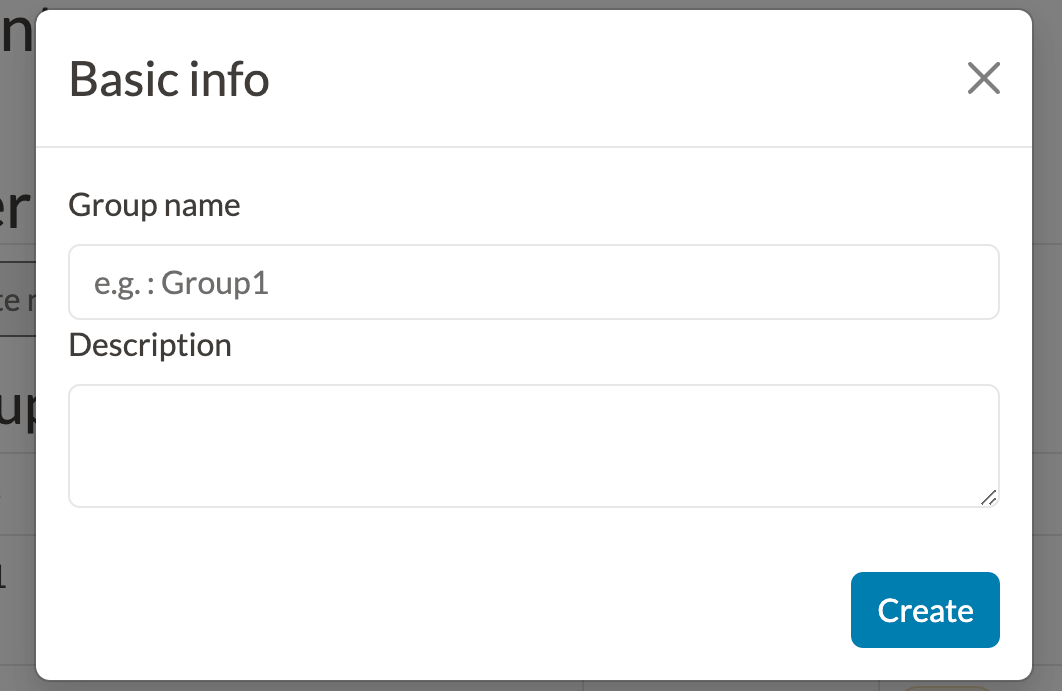
- Fill in the "Group name" and "Description" and click the "Create" button.
- A notification appears in the upper left corner and the group is added to the list.
# Adding users to groups
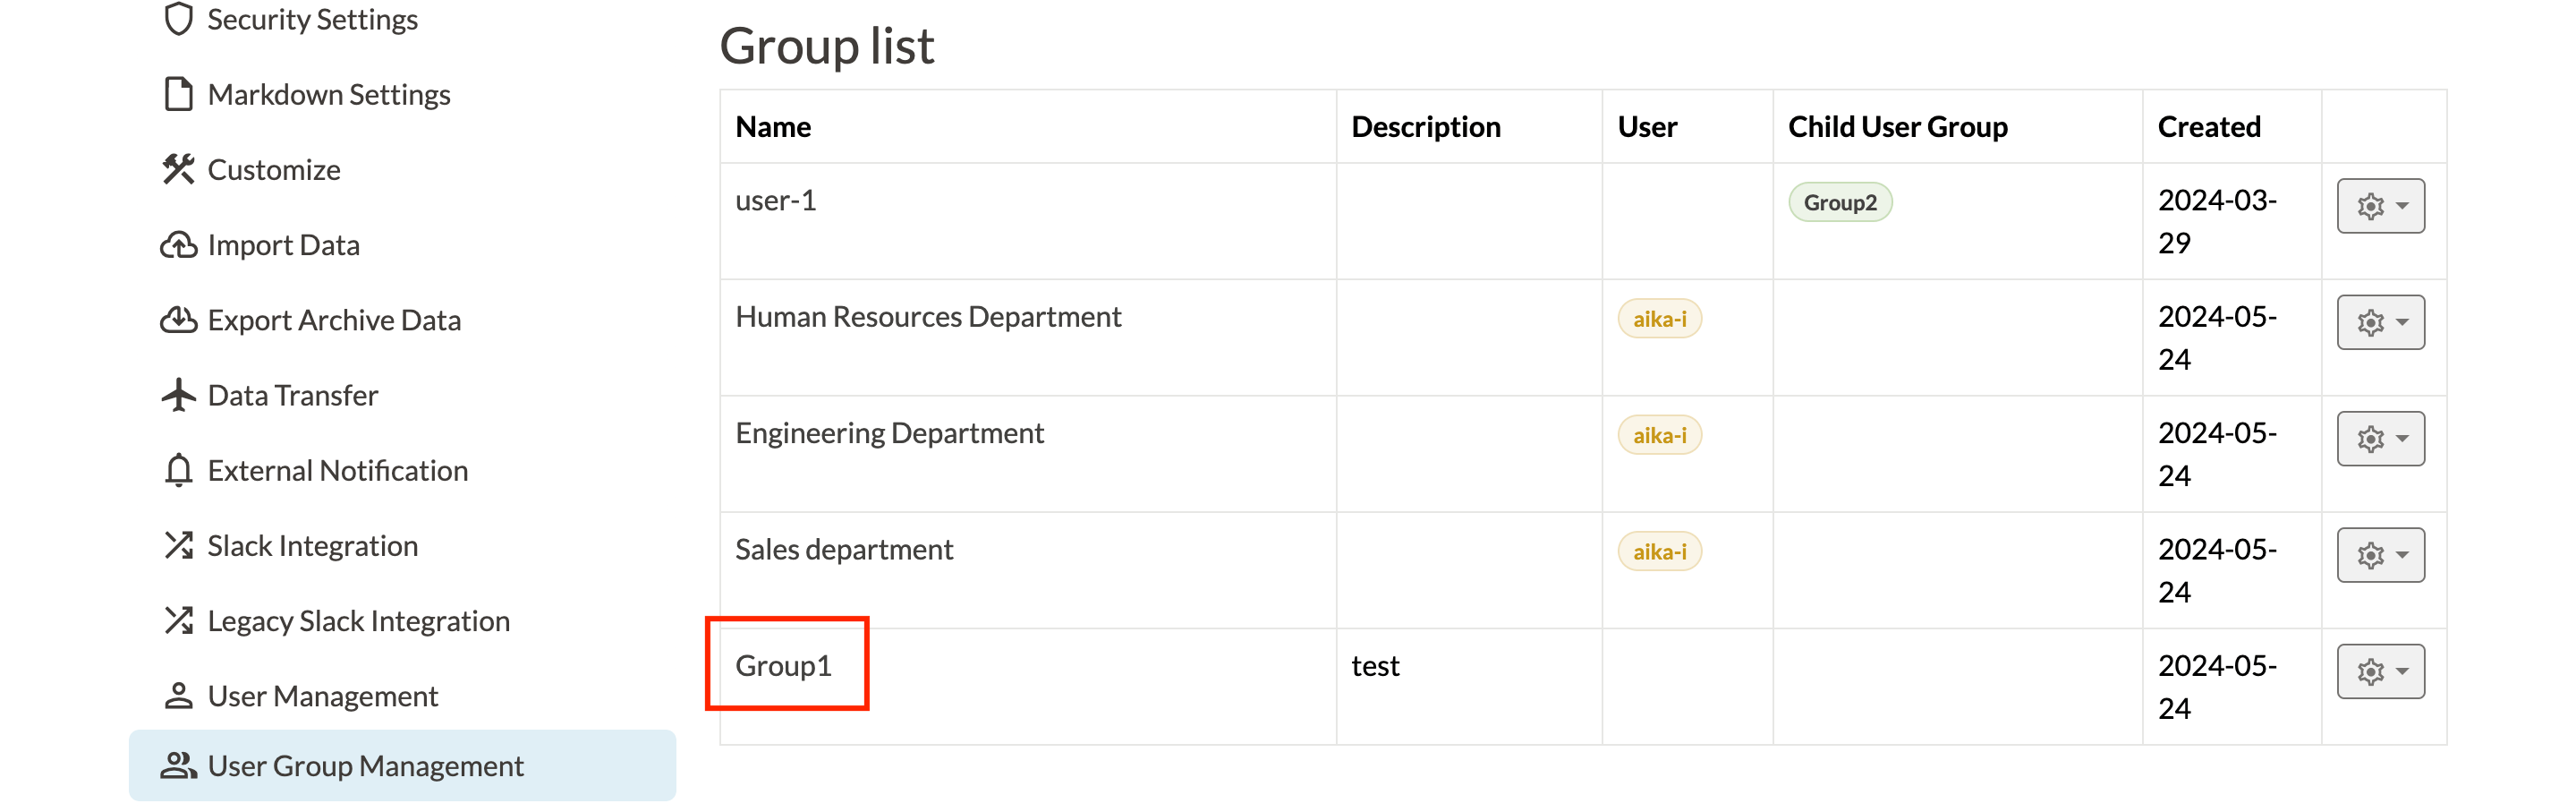
- Select a group in the Group List.
- Click "+" in the User list.
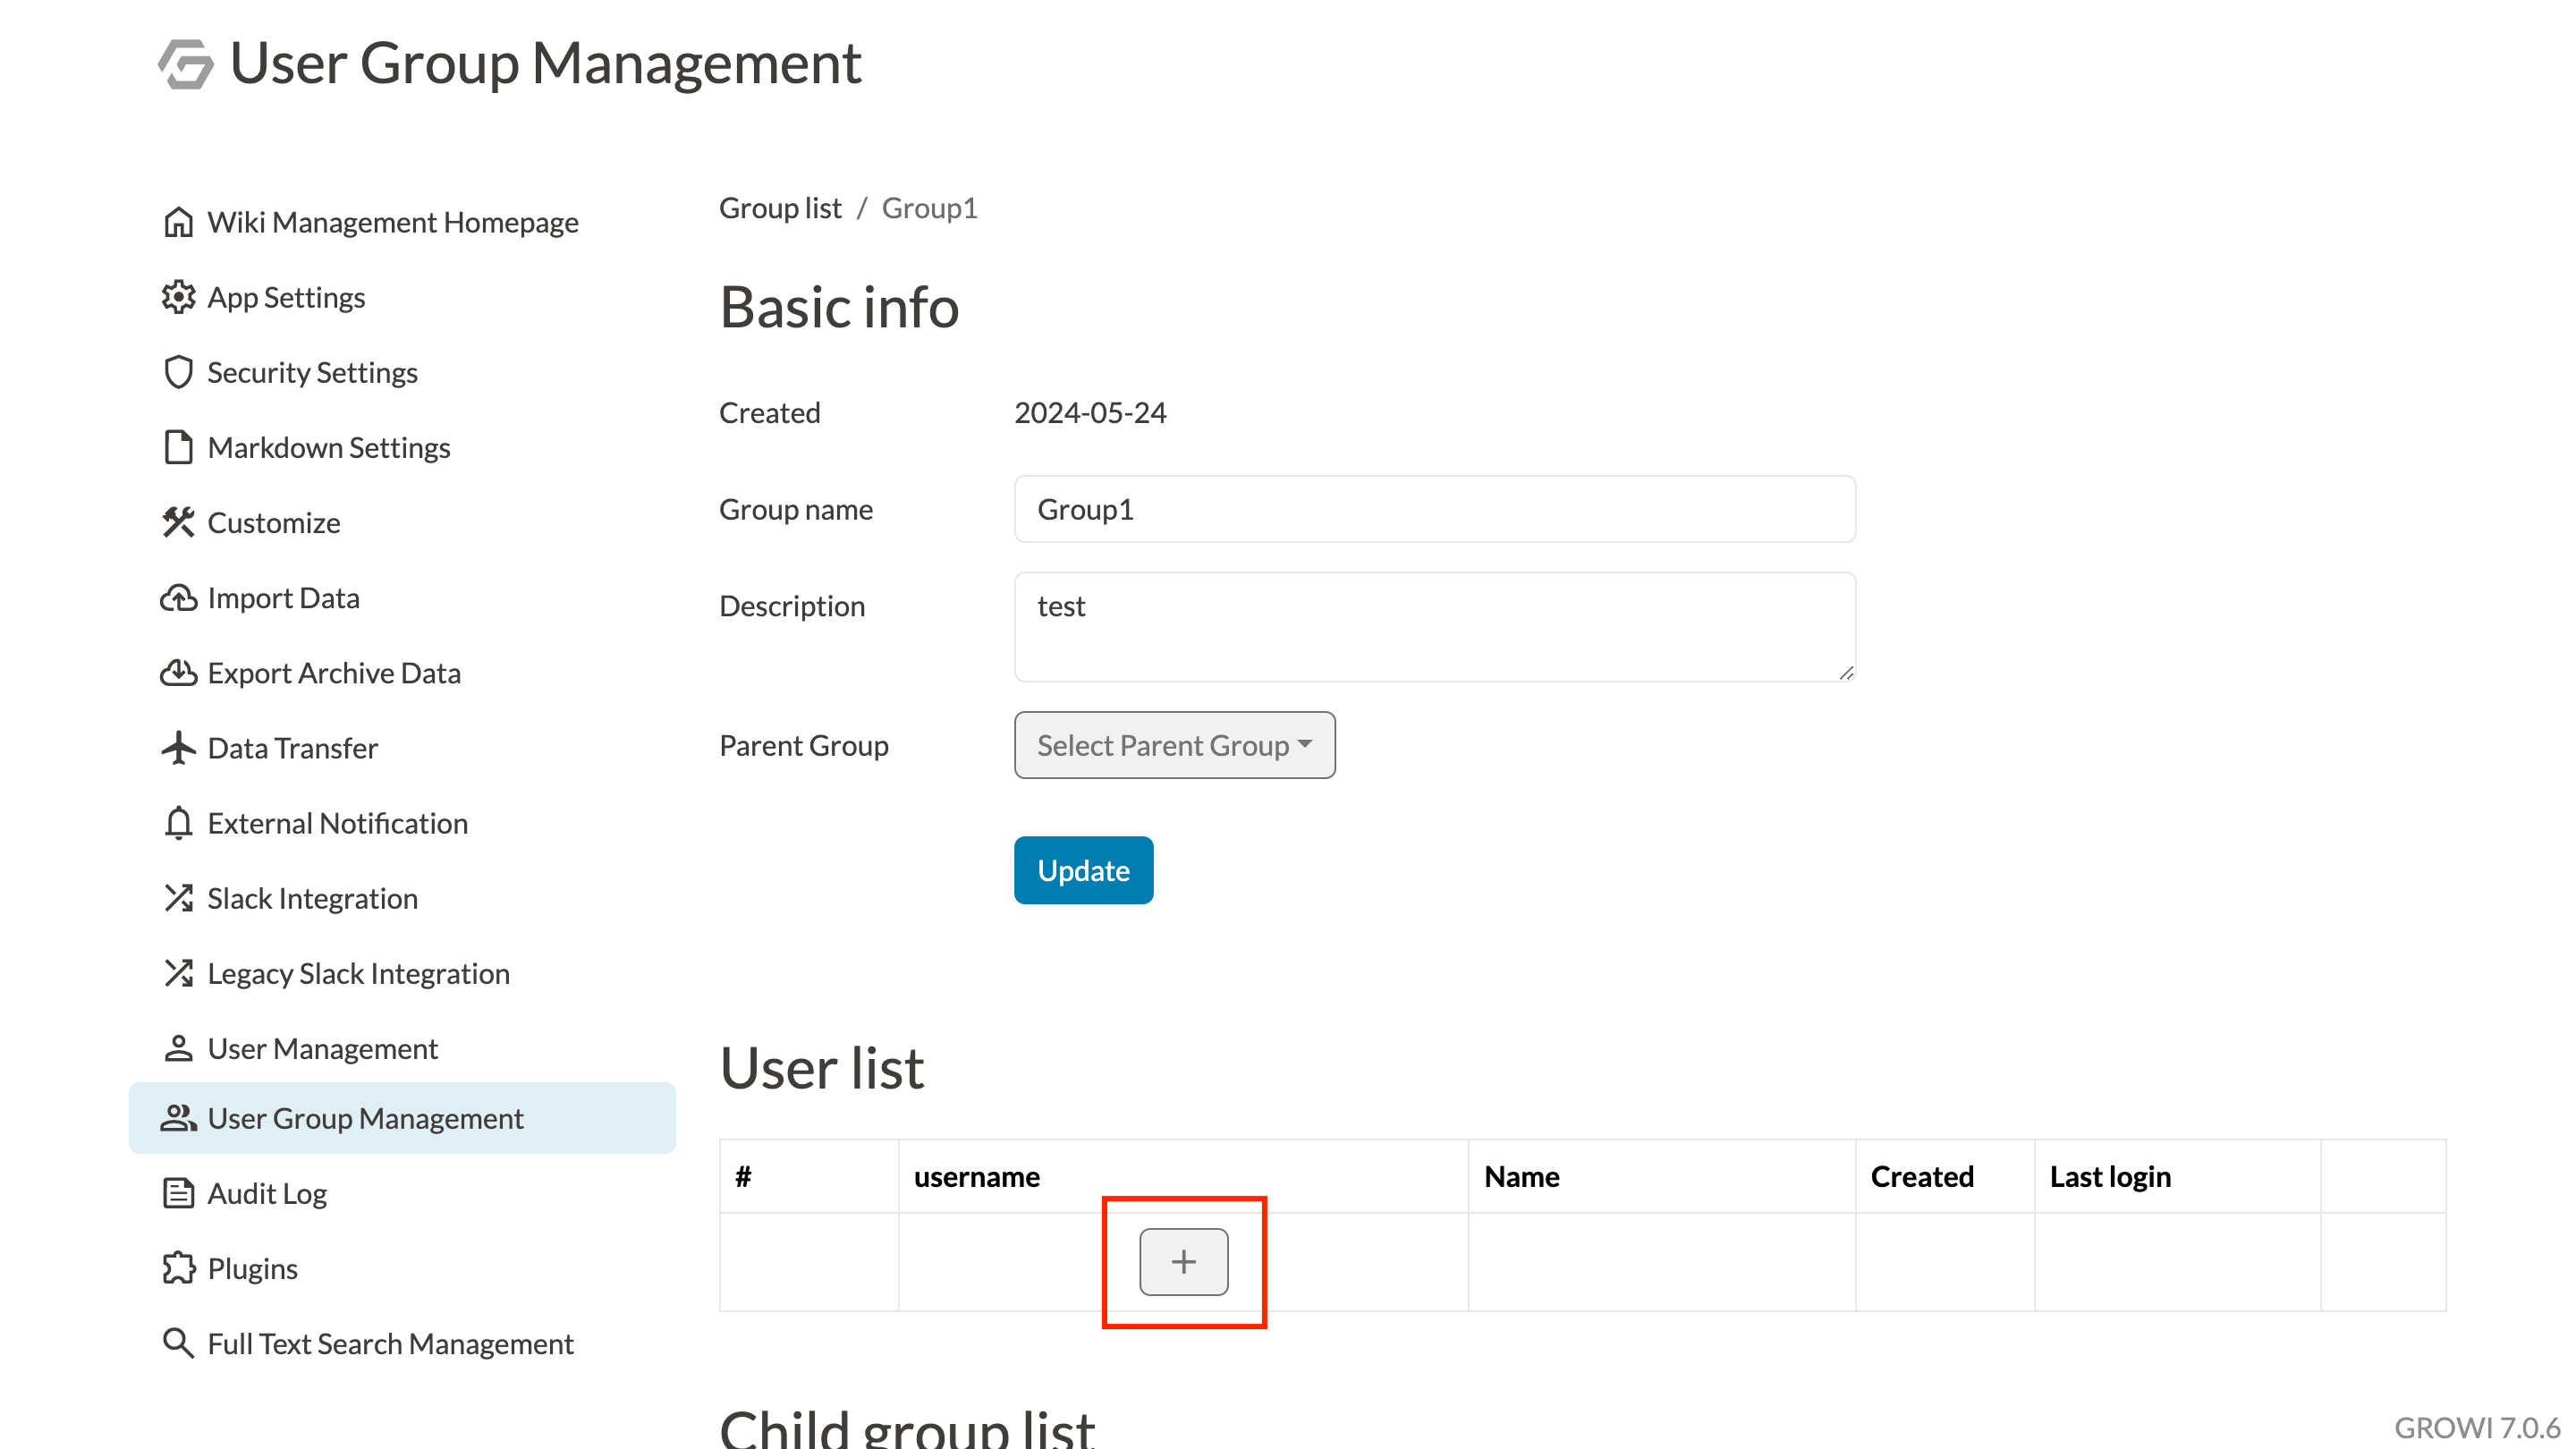
- Click the "+" in the User list to display the entry field for adding users to the group.
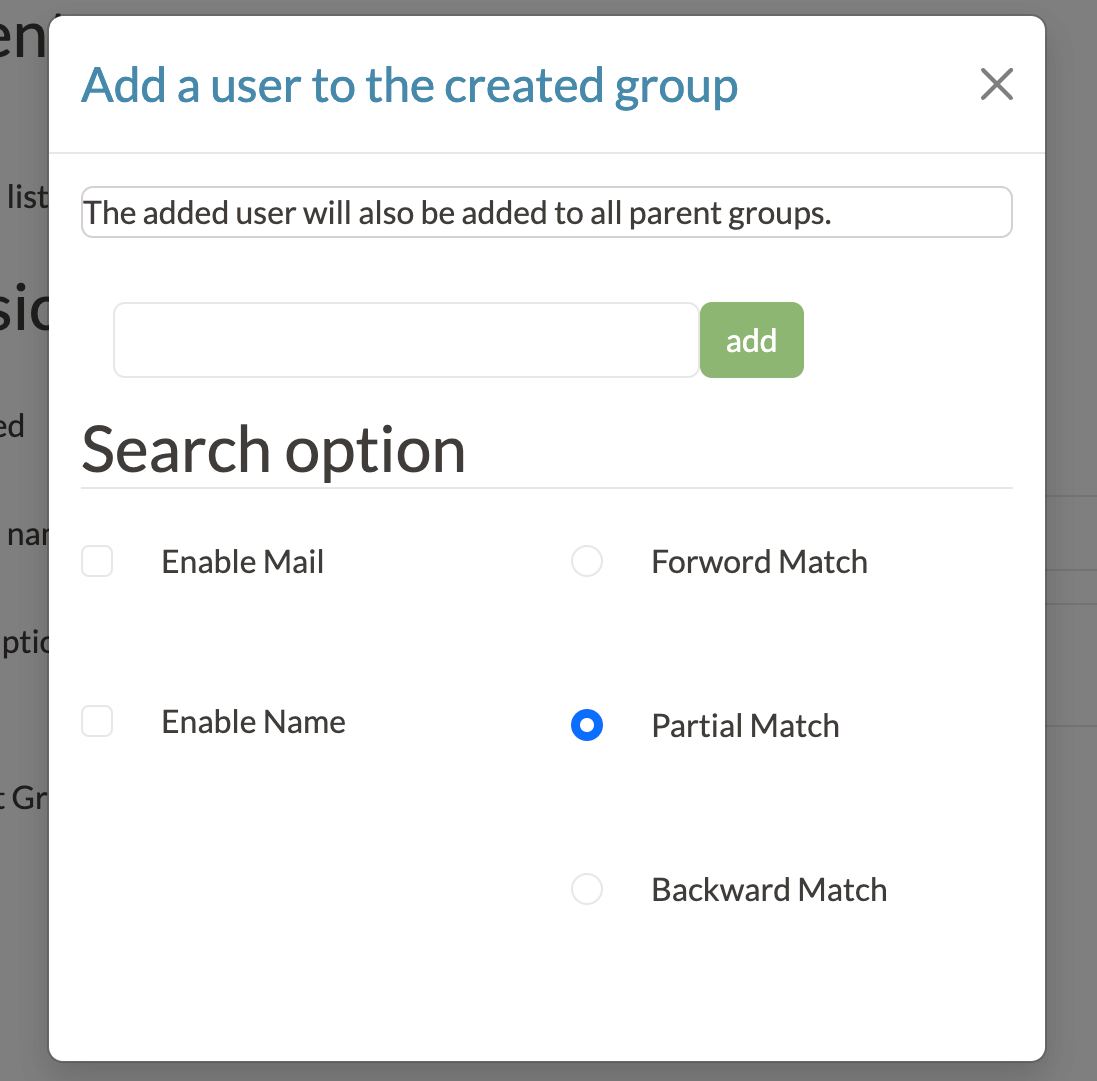
- After entering the information and clicking "add," the user is added to the group.

if the username has not been registered yet, an error will occur and the user cannot be added to the group.
# Set browsing permissions for pages
After the group is created, set the view / edit authority to the page.
- In the page edit mode, set "Only inside the group" as shown in the image below.
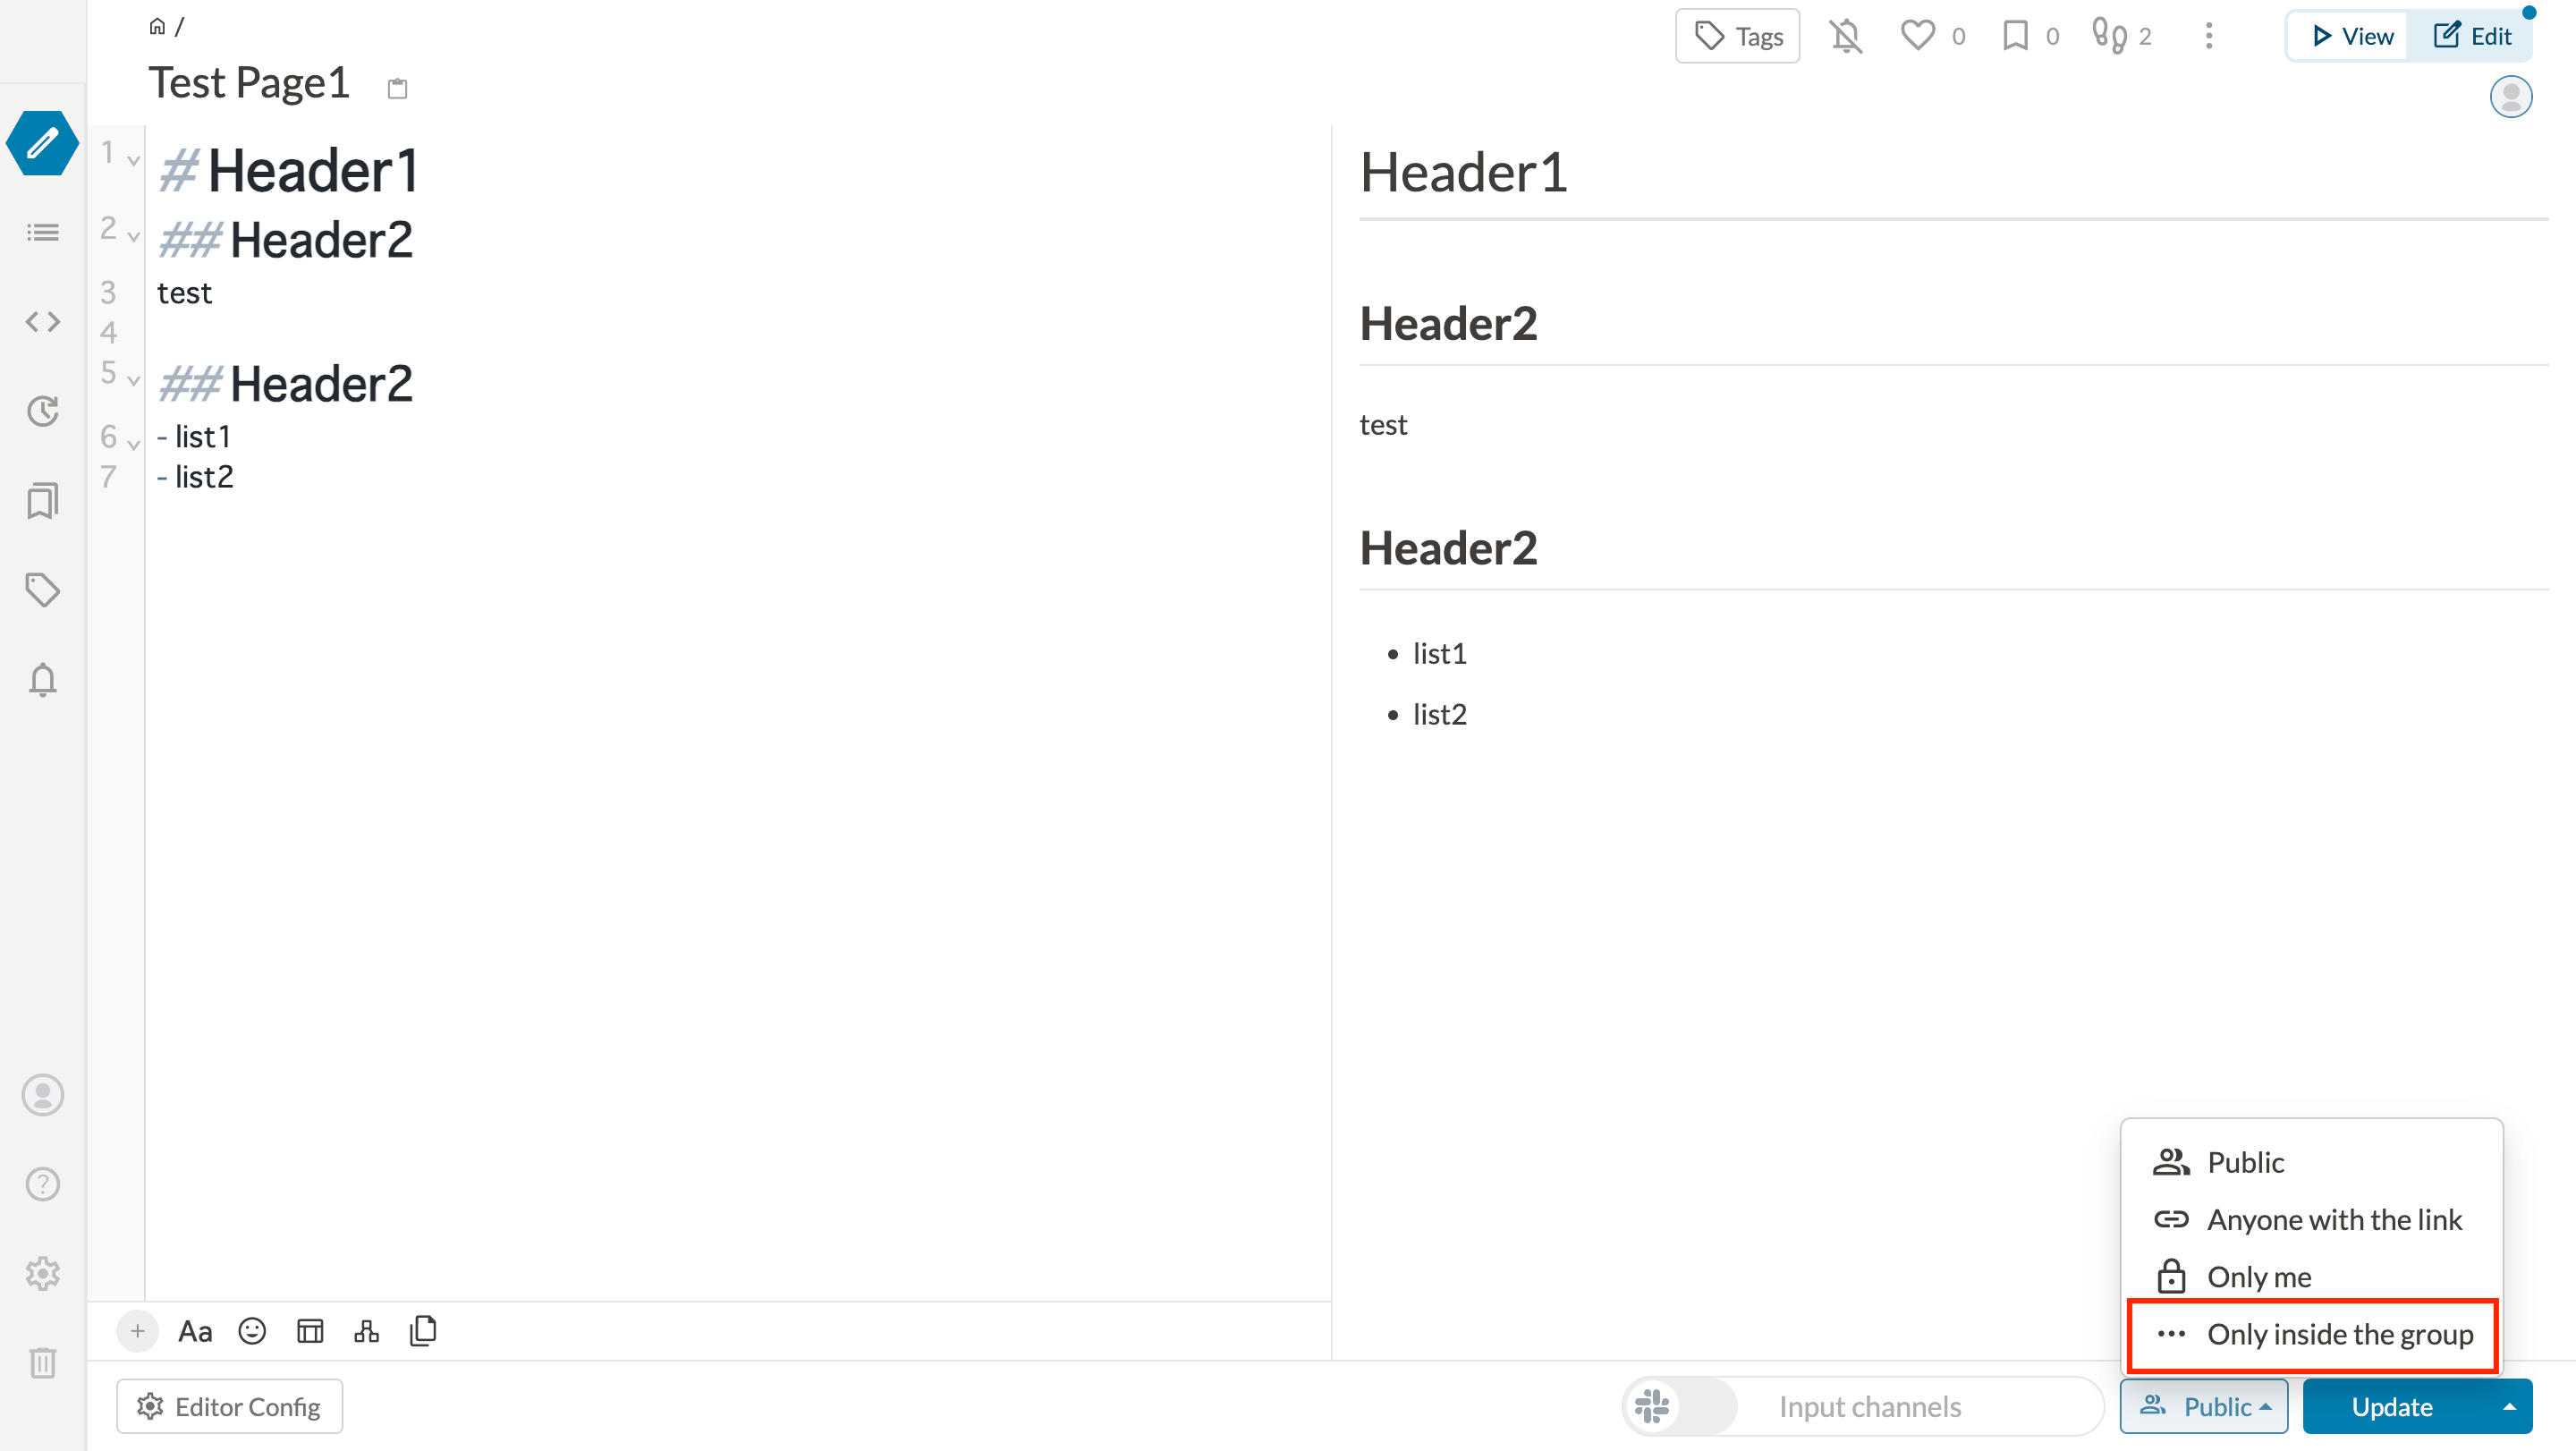
- Then, the list of the groups you belong is displayed.
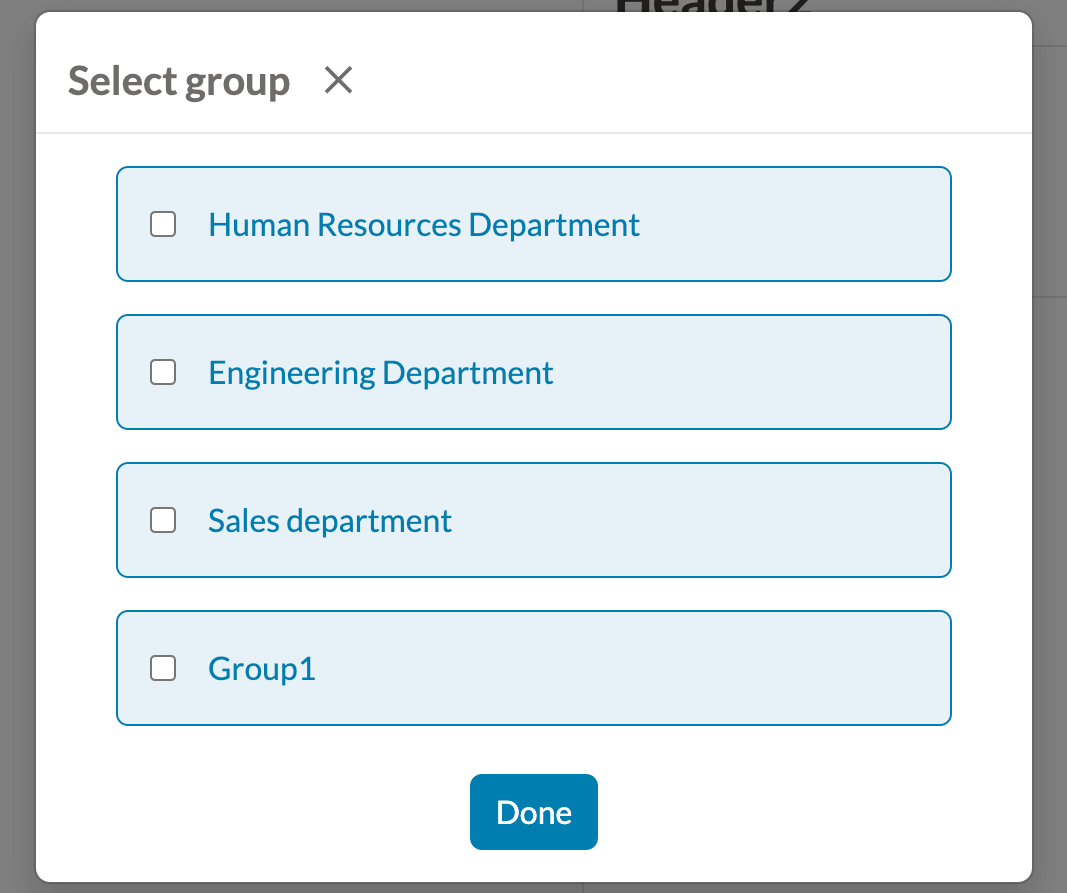
- Select the group and click the Update button.
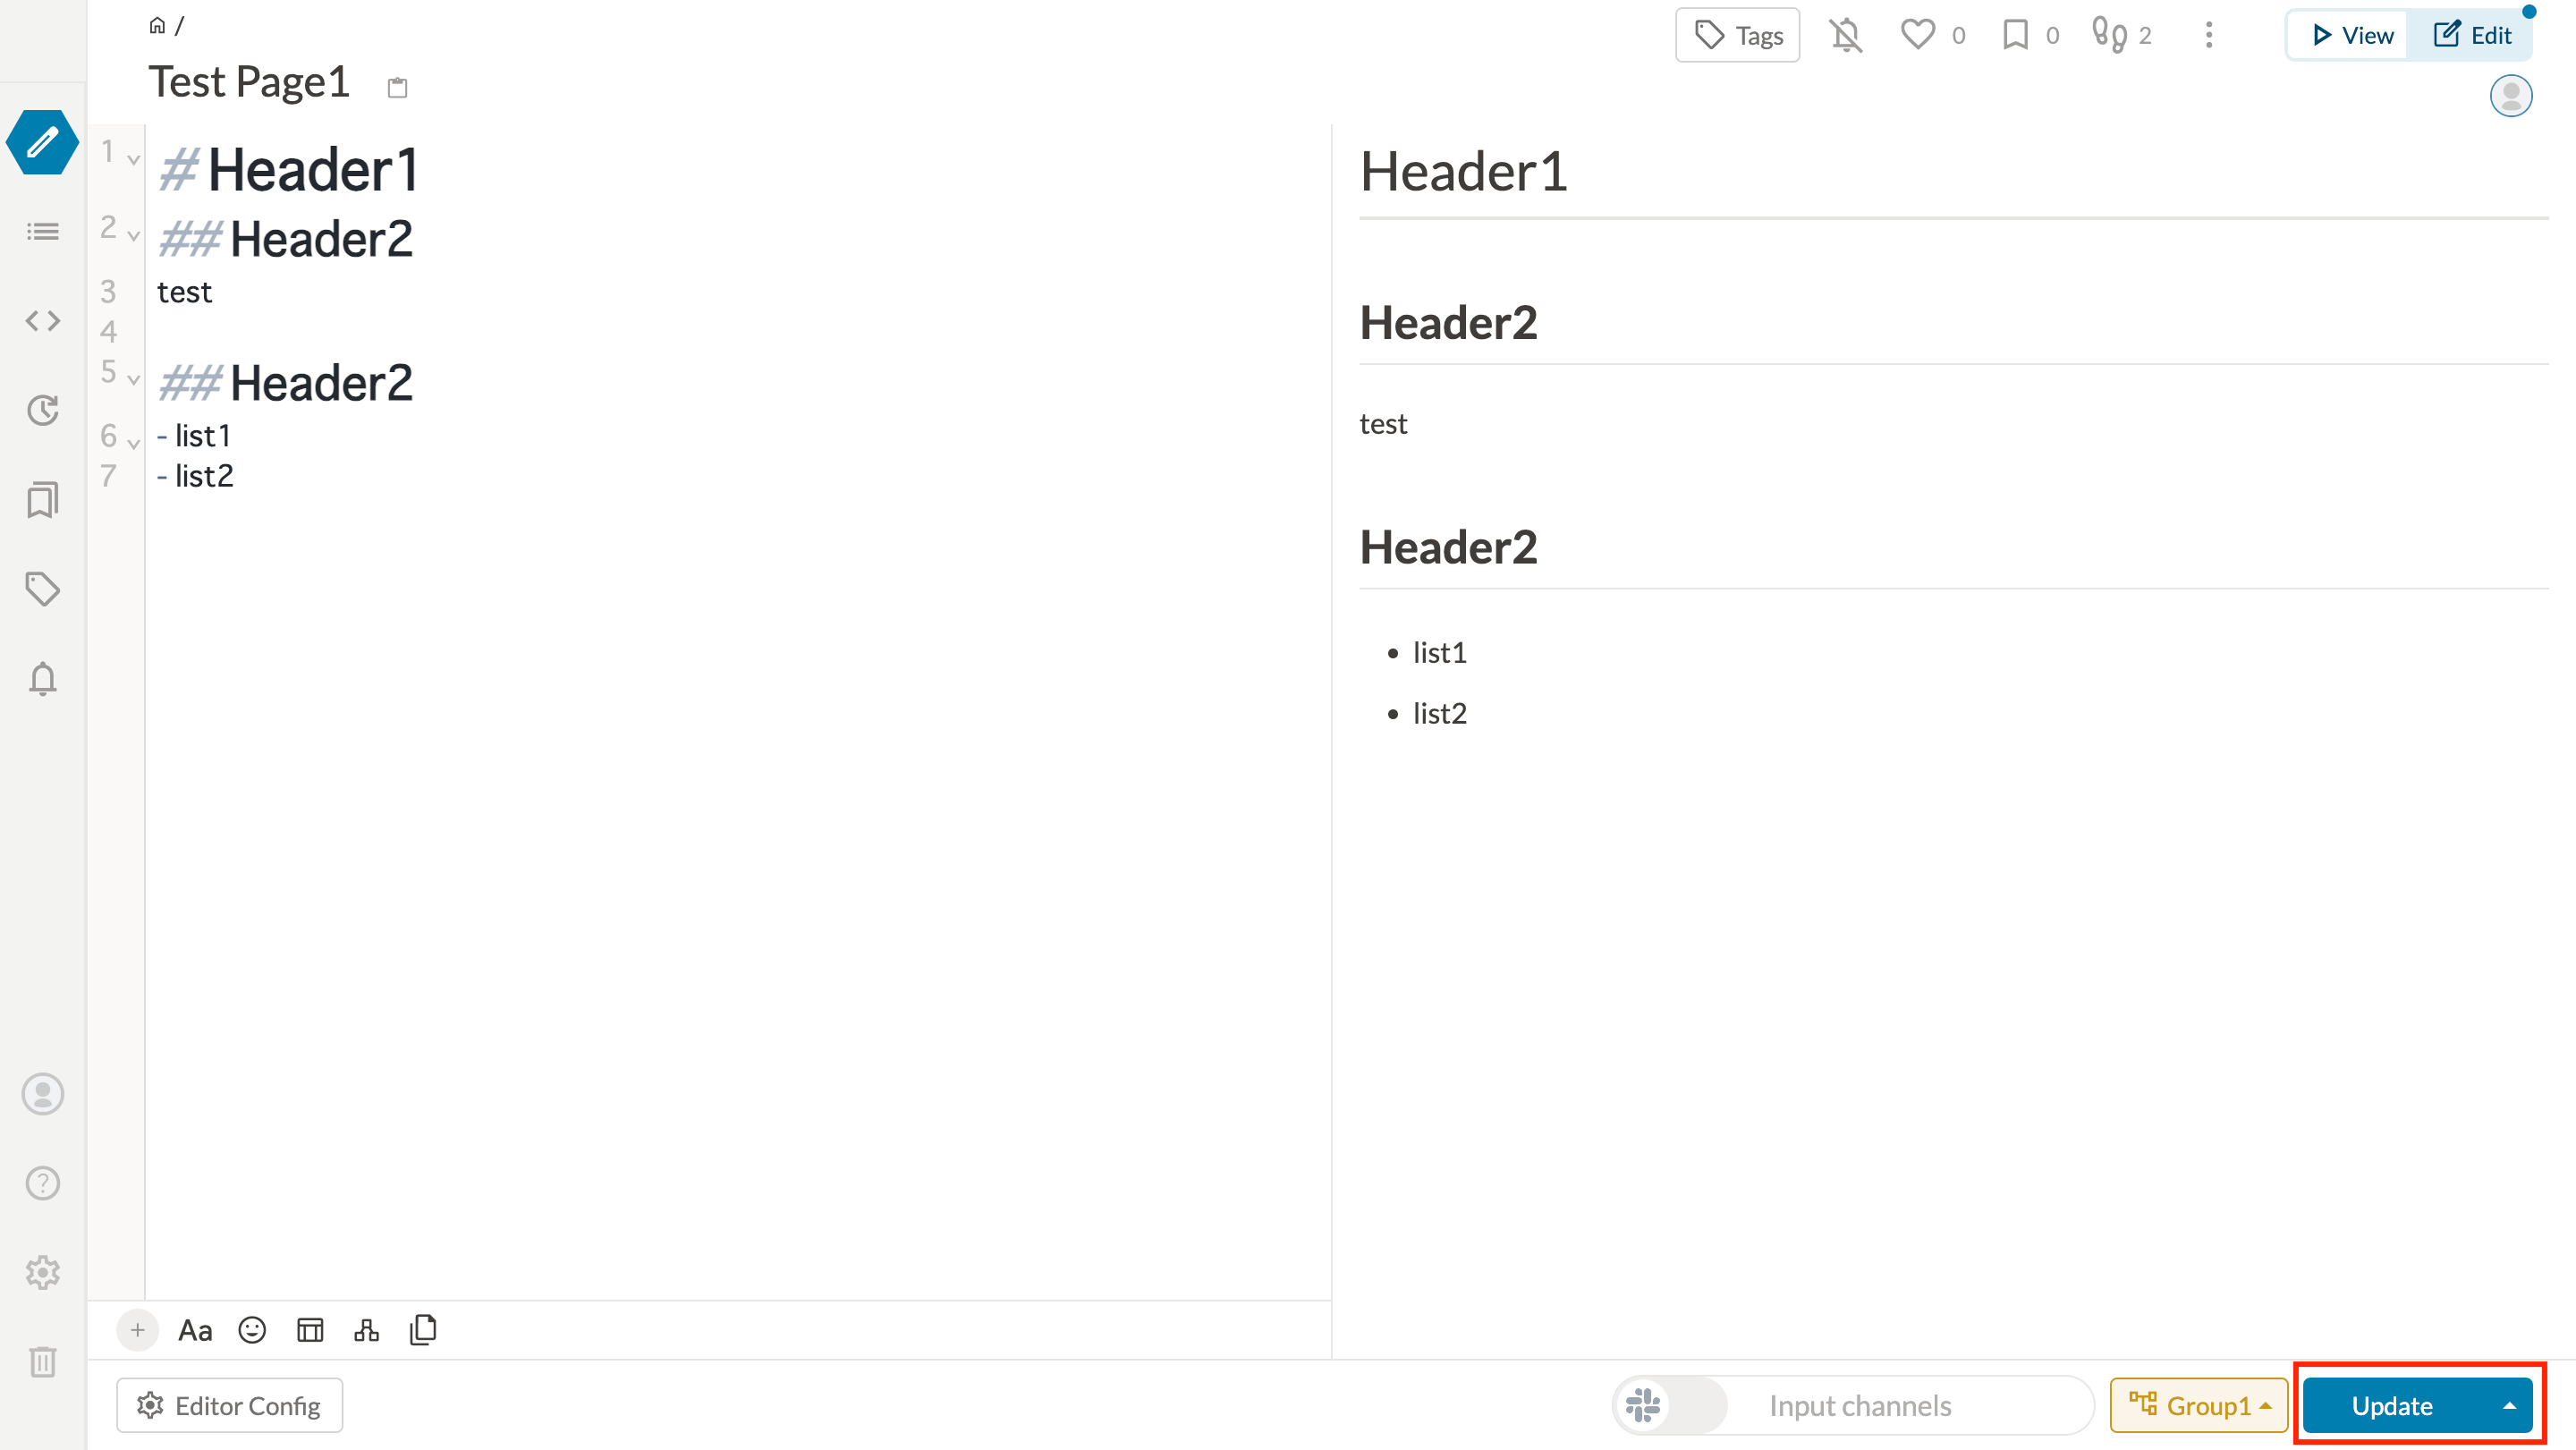
If you see the notation that "Browsing of this page is restricted", the authority setting is completed.
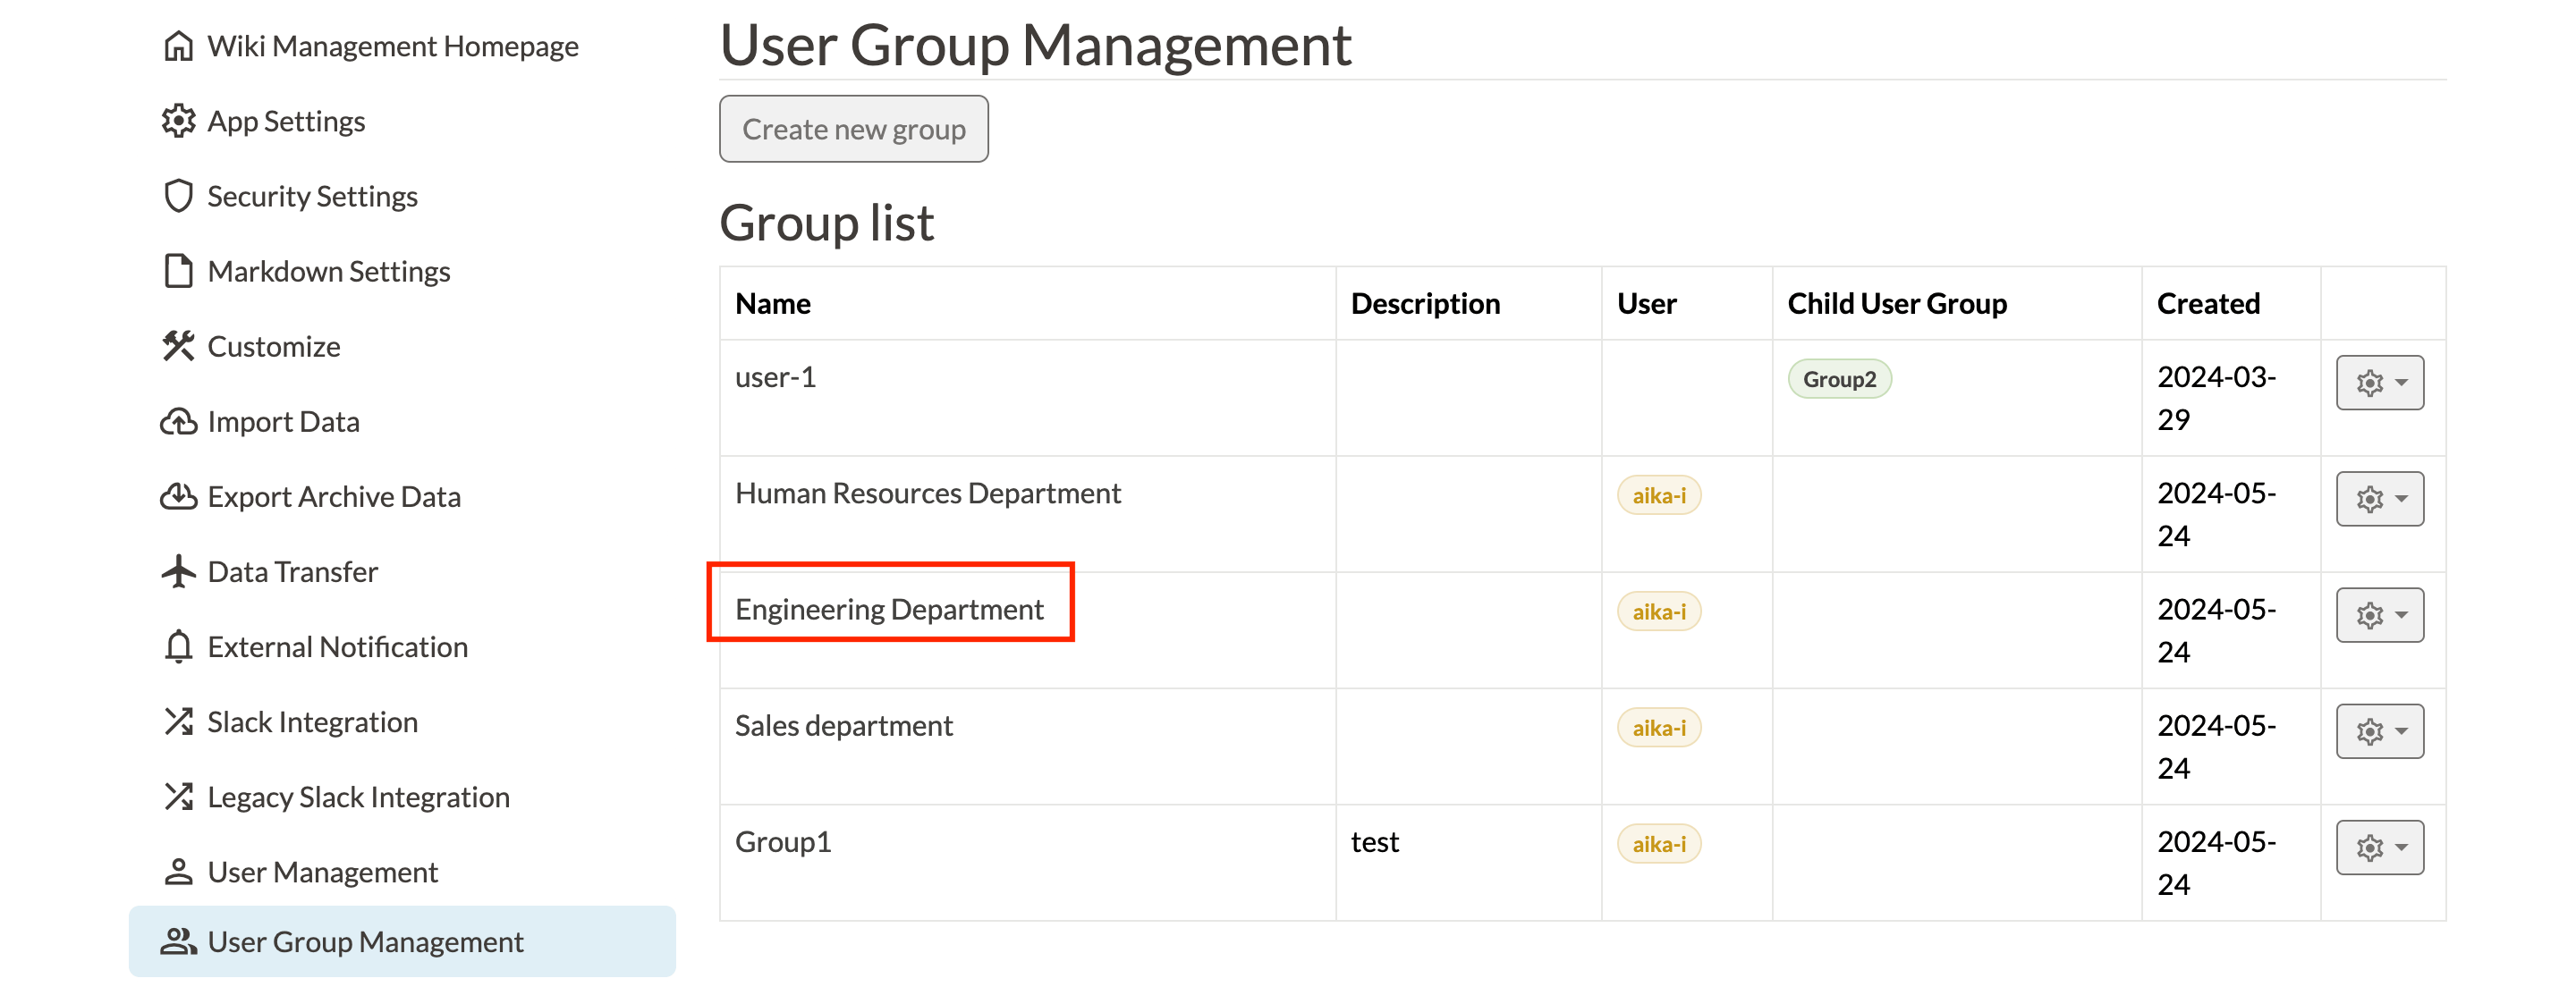
# Refer to the list of authorization pages on the group management page
If you set view / edit authority to a page, you can see a list of autholized pages on the UserGroup Management screen.

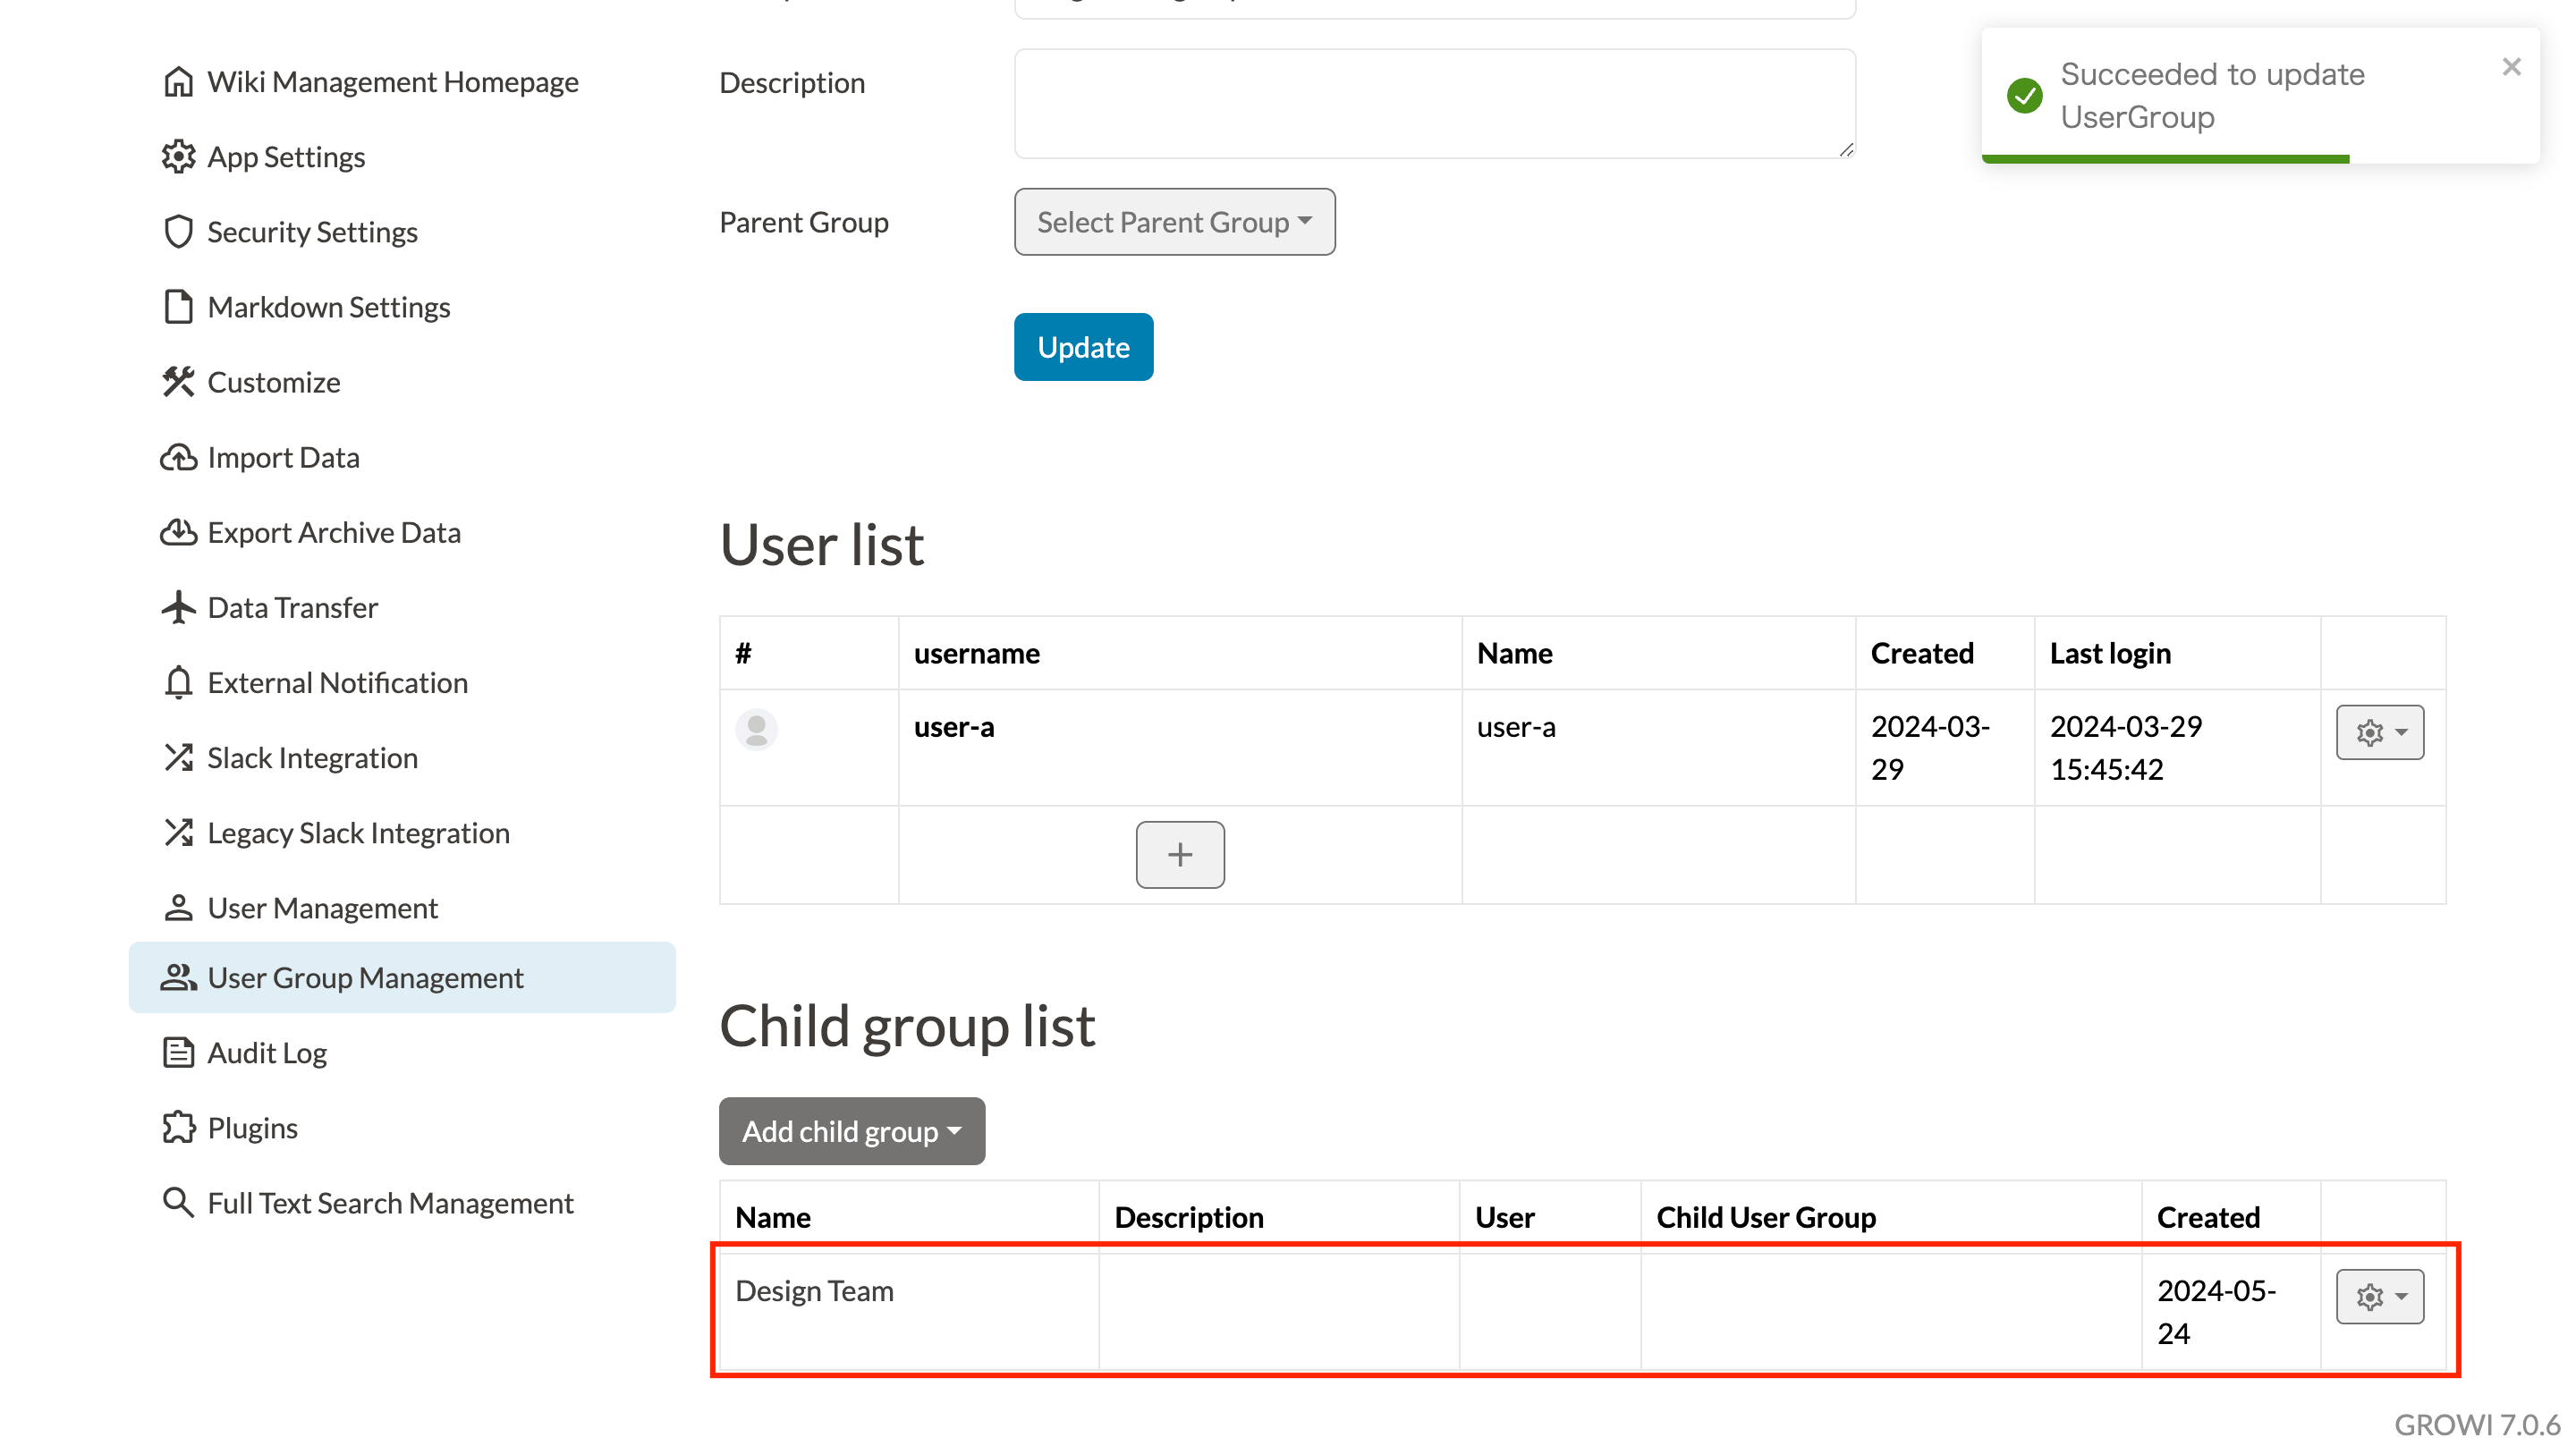
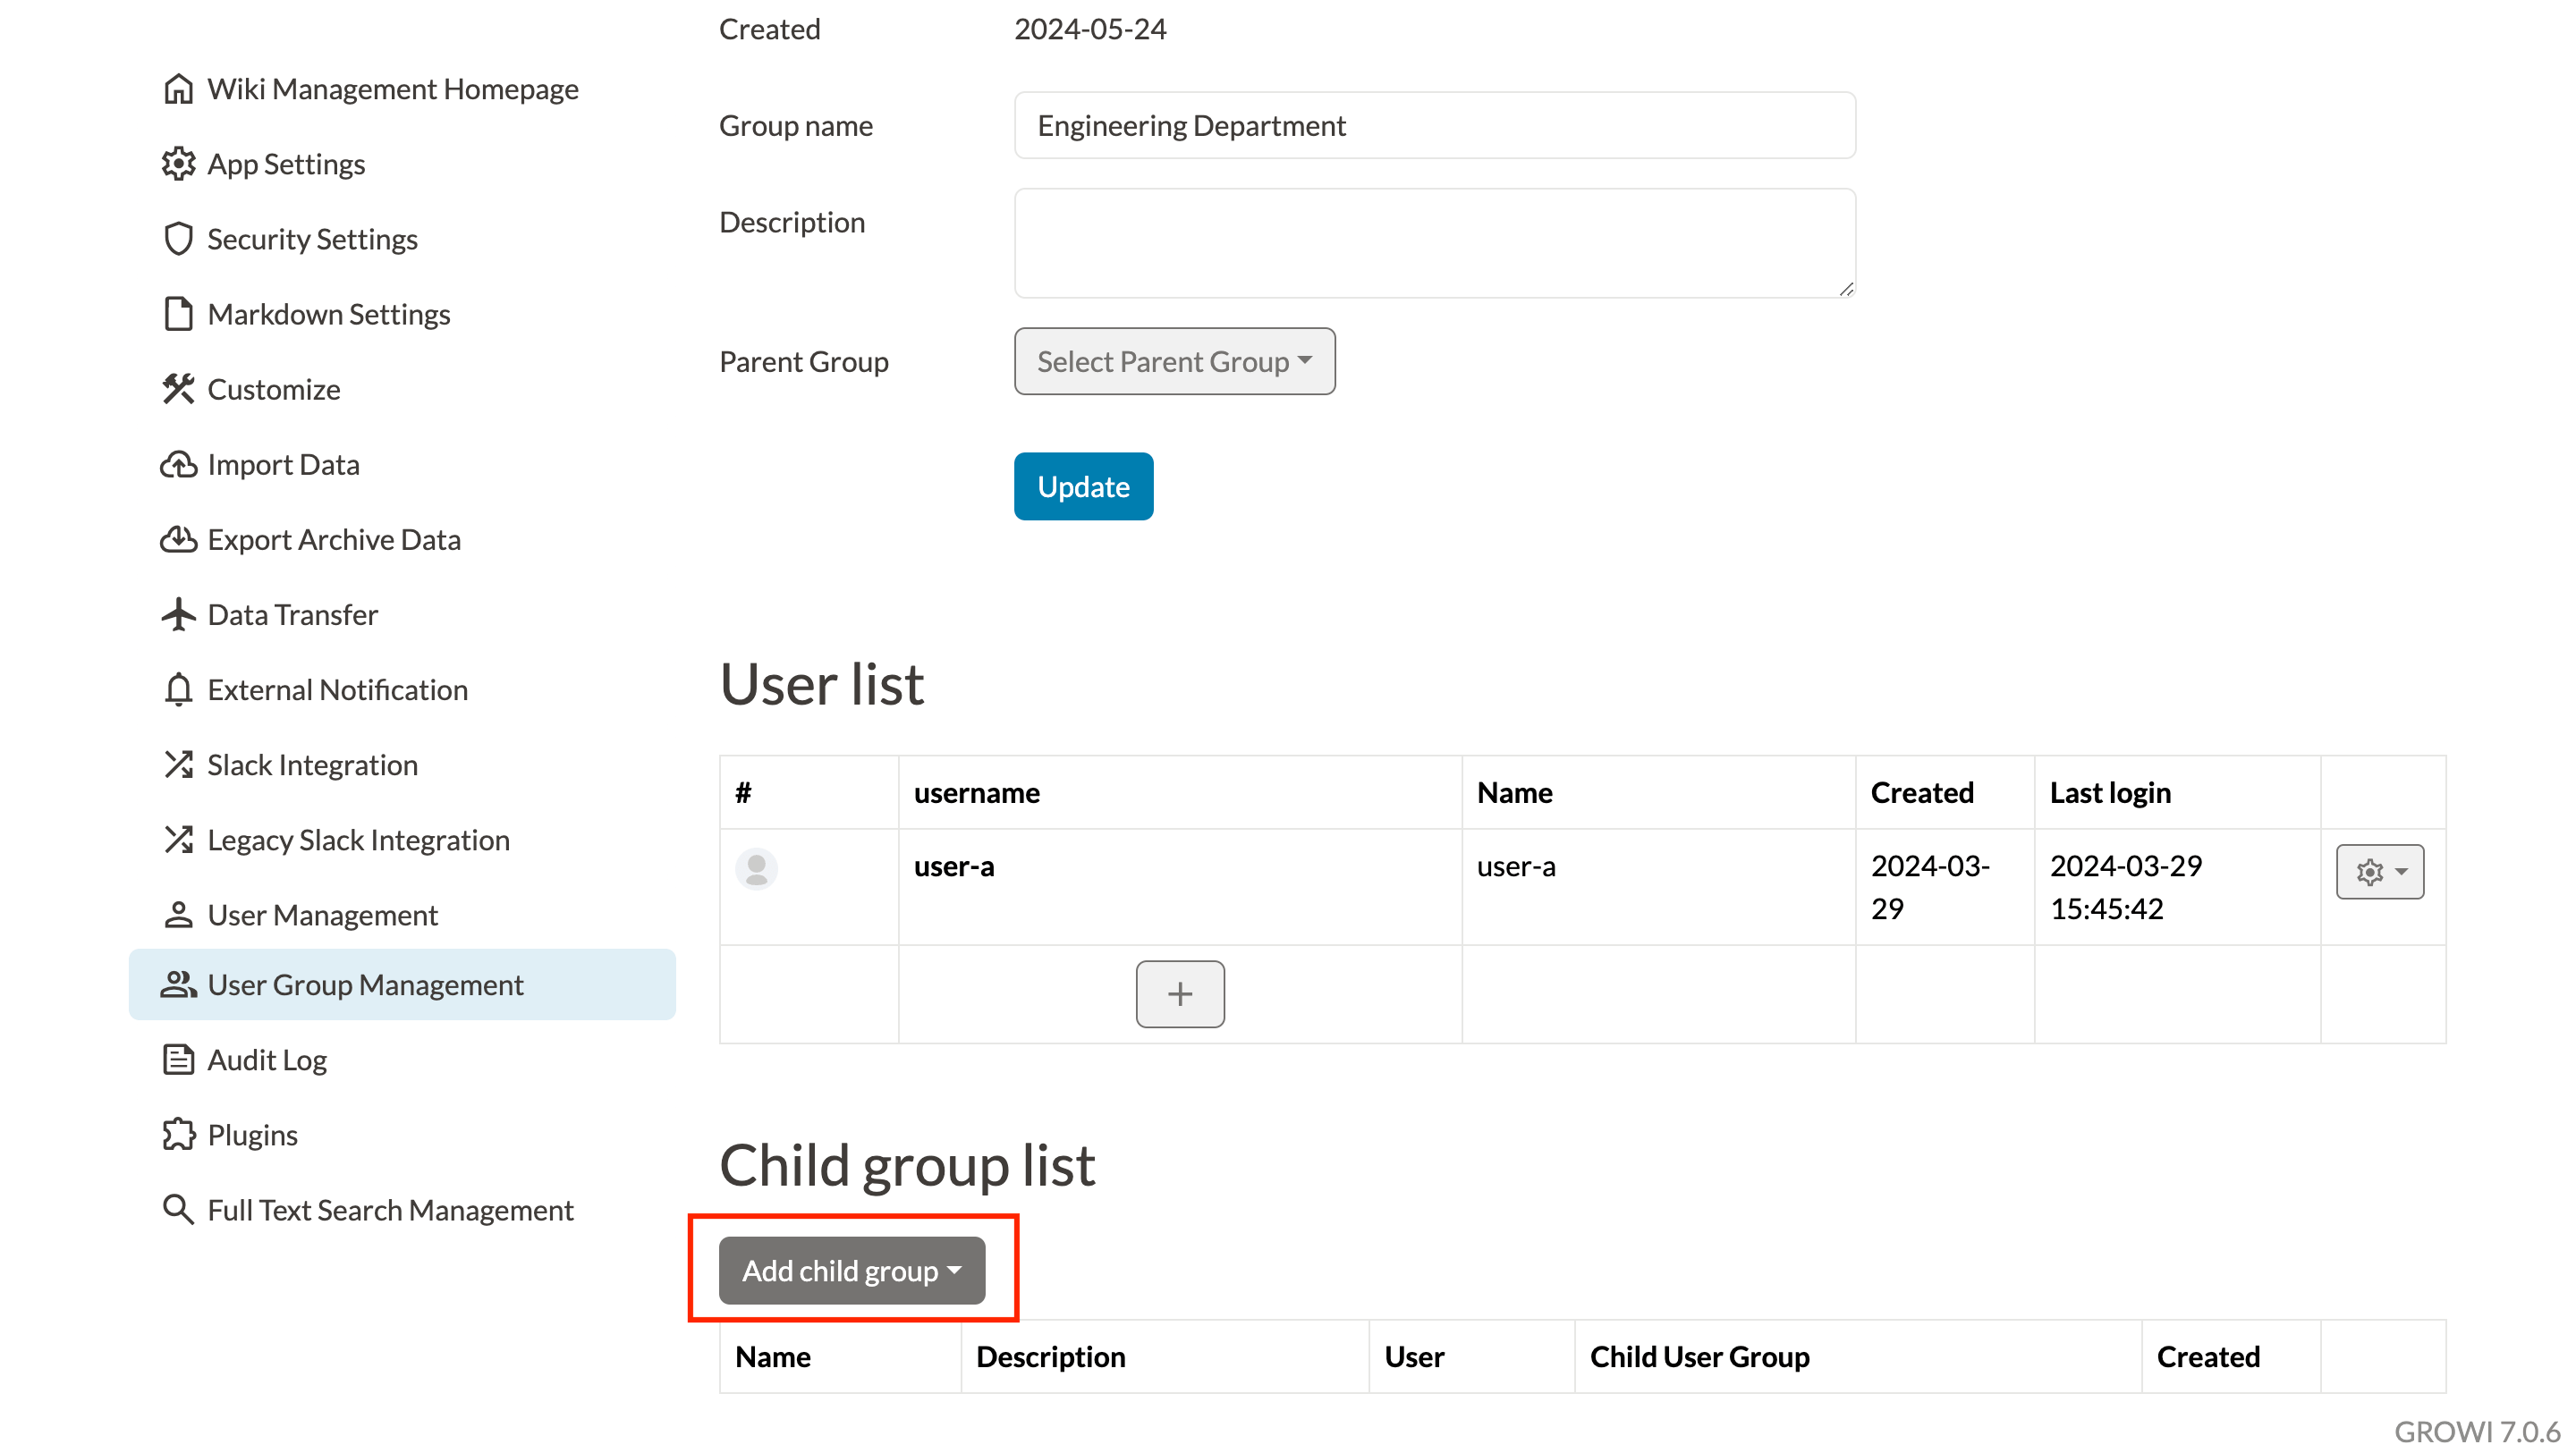
# User Group Parent-Child Settings
It is possible to set a parent-child relationship between user groups.
For example, you can create a "Design Team" as a child group of the "Technical Department" group and register some members in the technical department group.
- Select a group from the Group list.
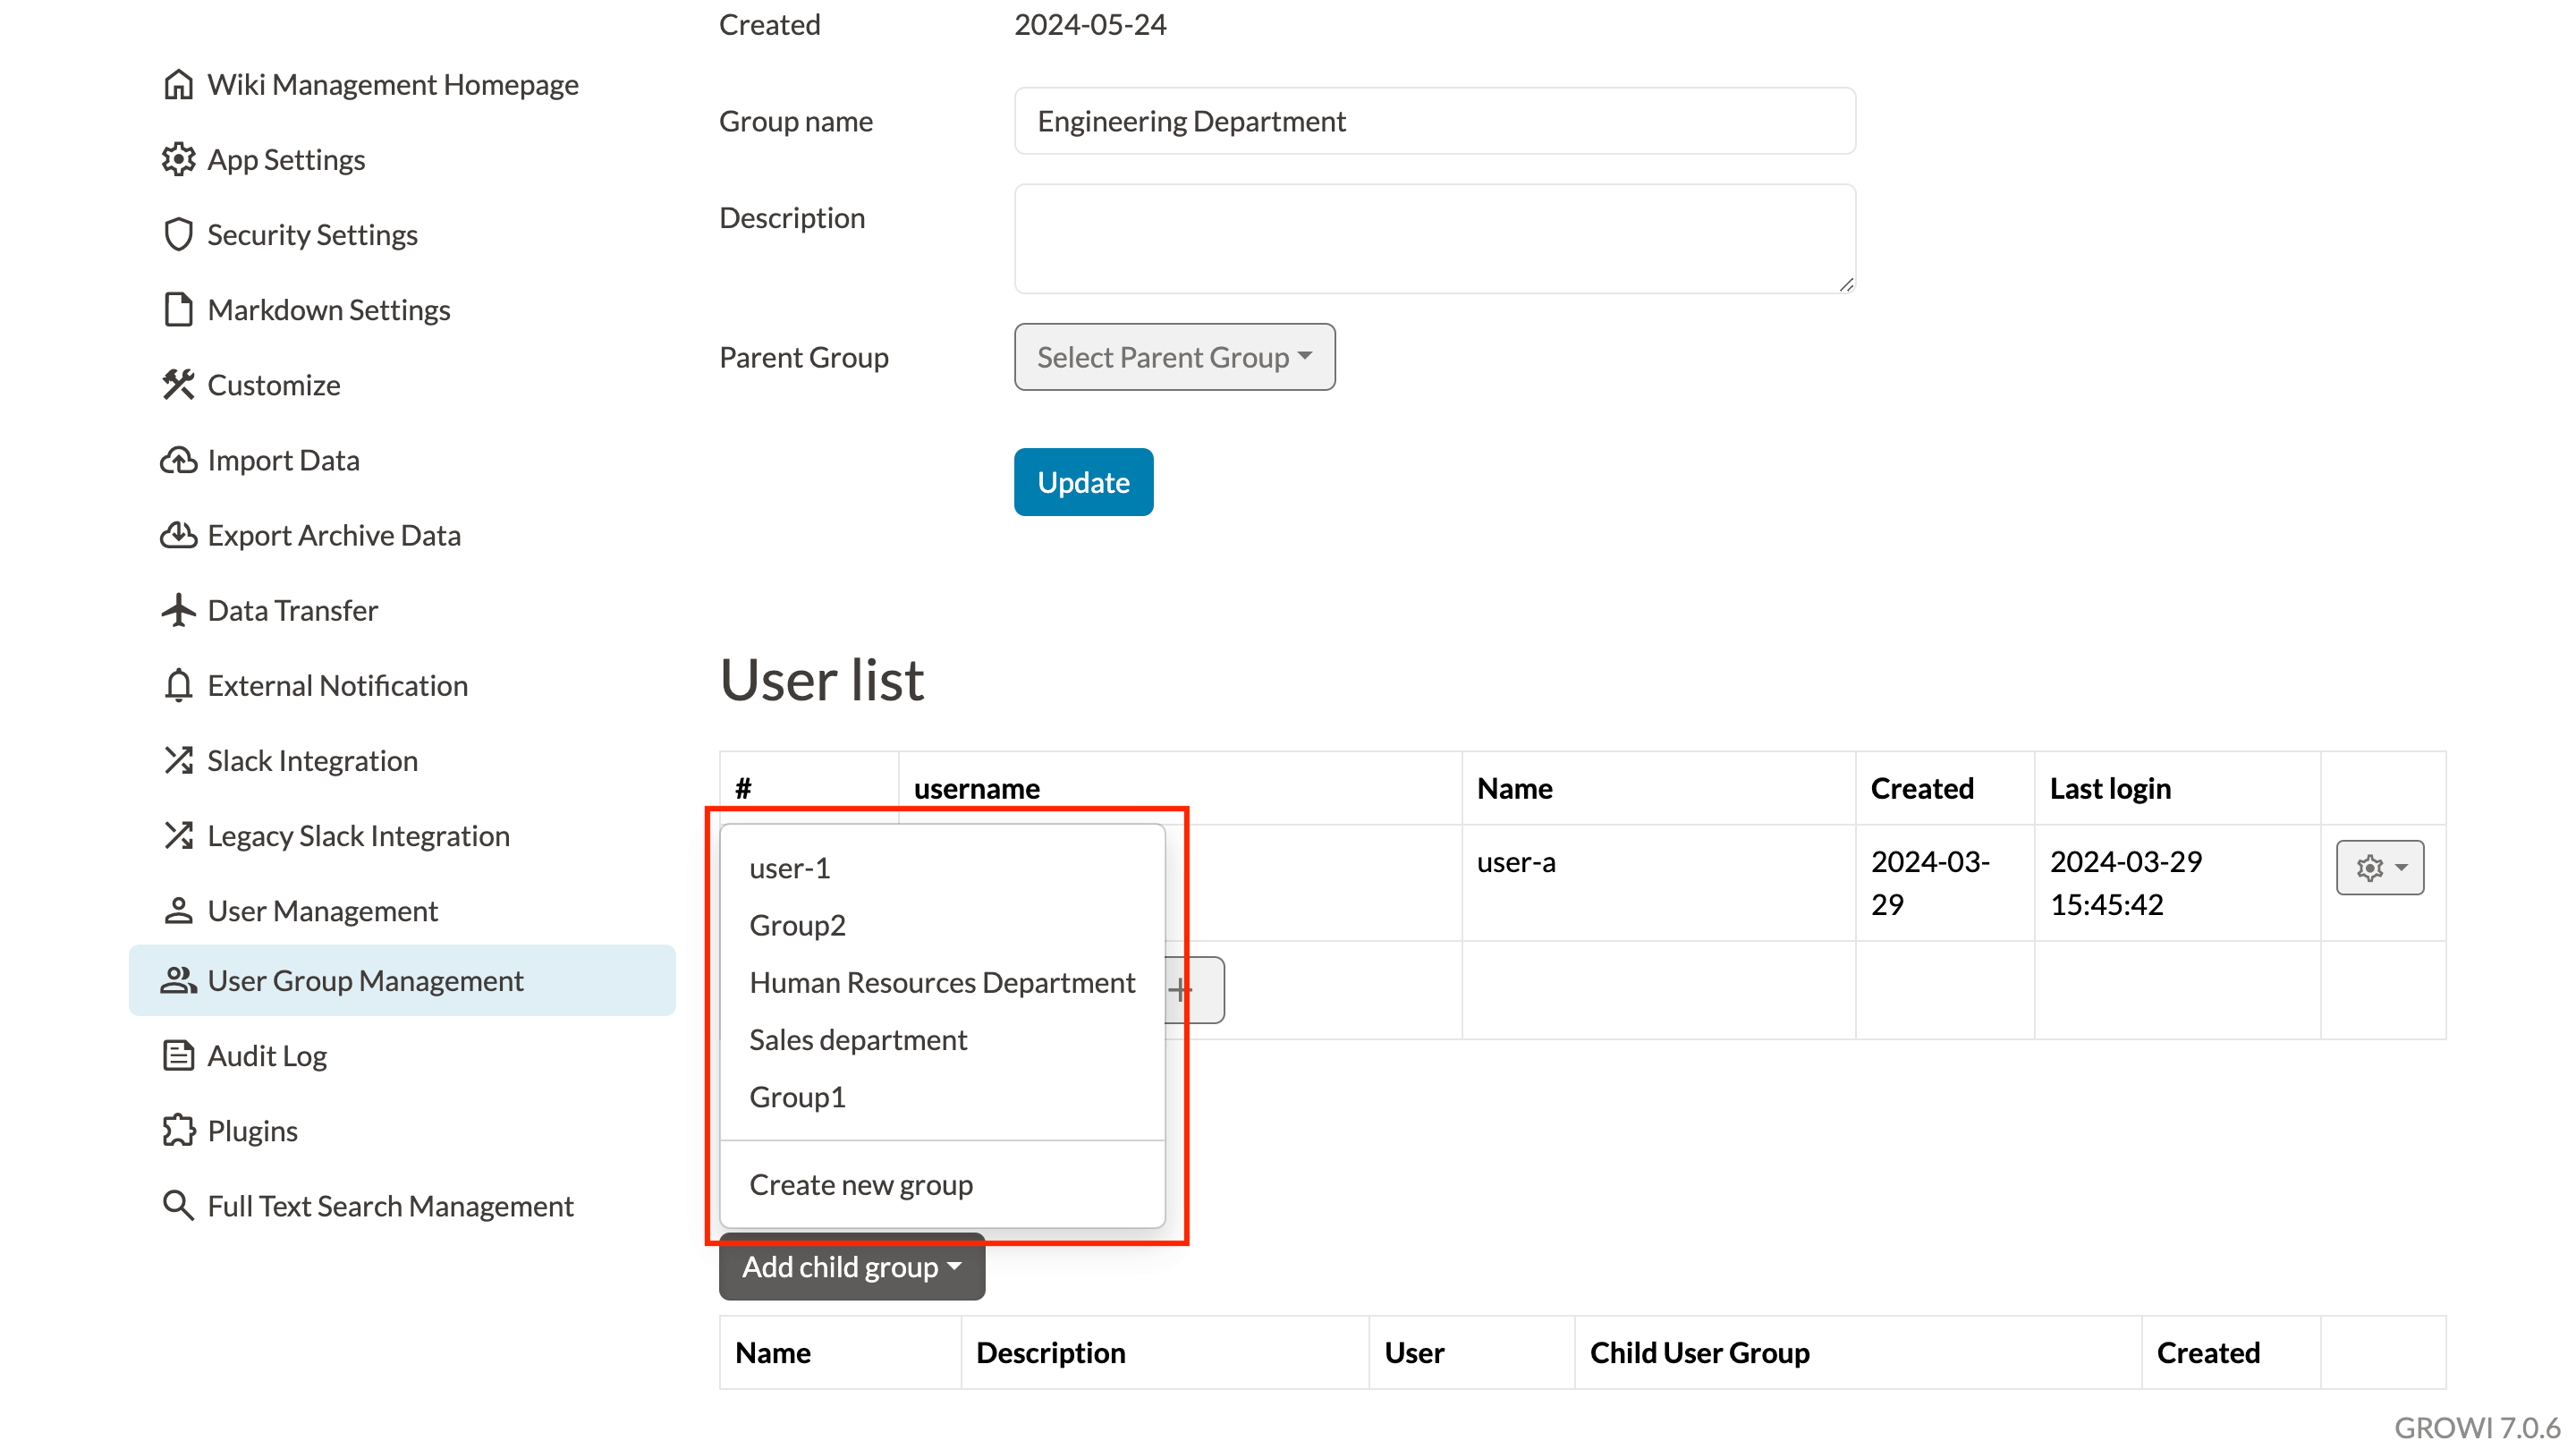
- Click on "Add child group" framed in red.
- Select the group you wish to add (select "Create new group" if you wish to add a new one).
- Fill in the "Group name" and "Description" and click the "Create" button.
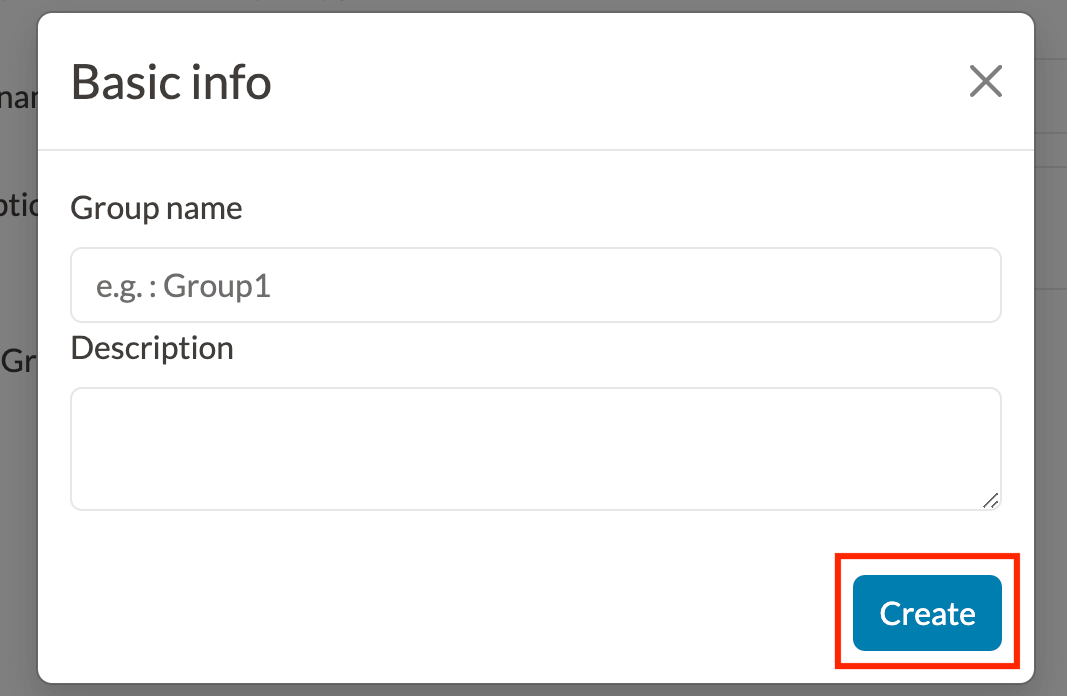
- After entering the information and clicking "create," the group is added to the user group.