# Custom bot with proxy 設定
【概念図】
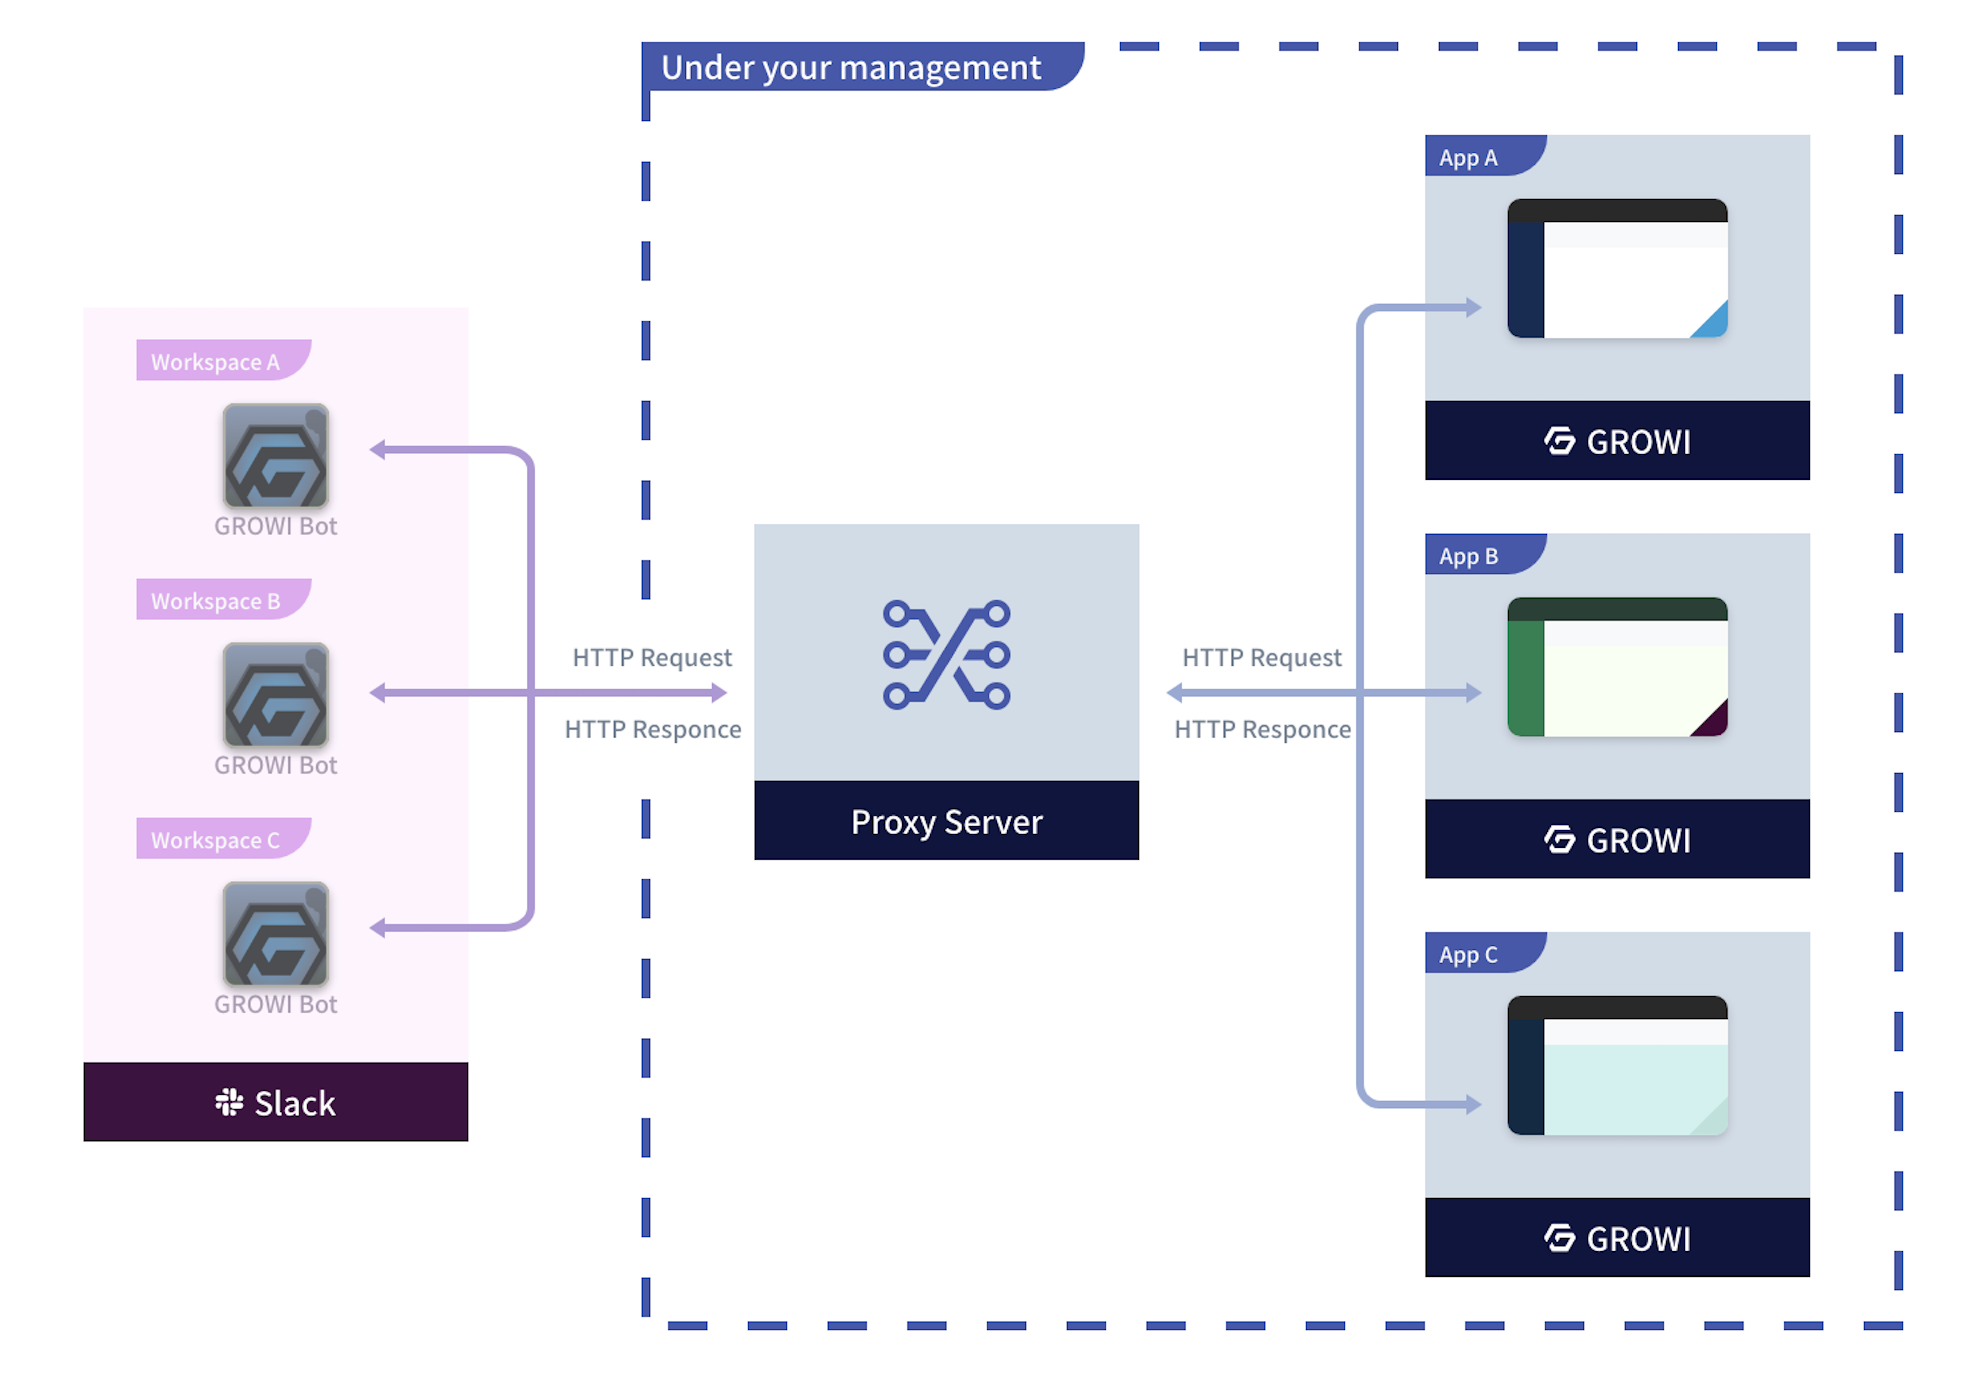
Custom bot with proxy を Slack のワークスペースに導入するには、Slack アプリを作成・編集する必要があります。手順は以下の通りです。
# Custom bot with proxy を作成する
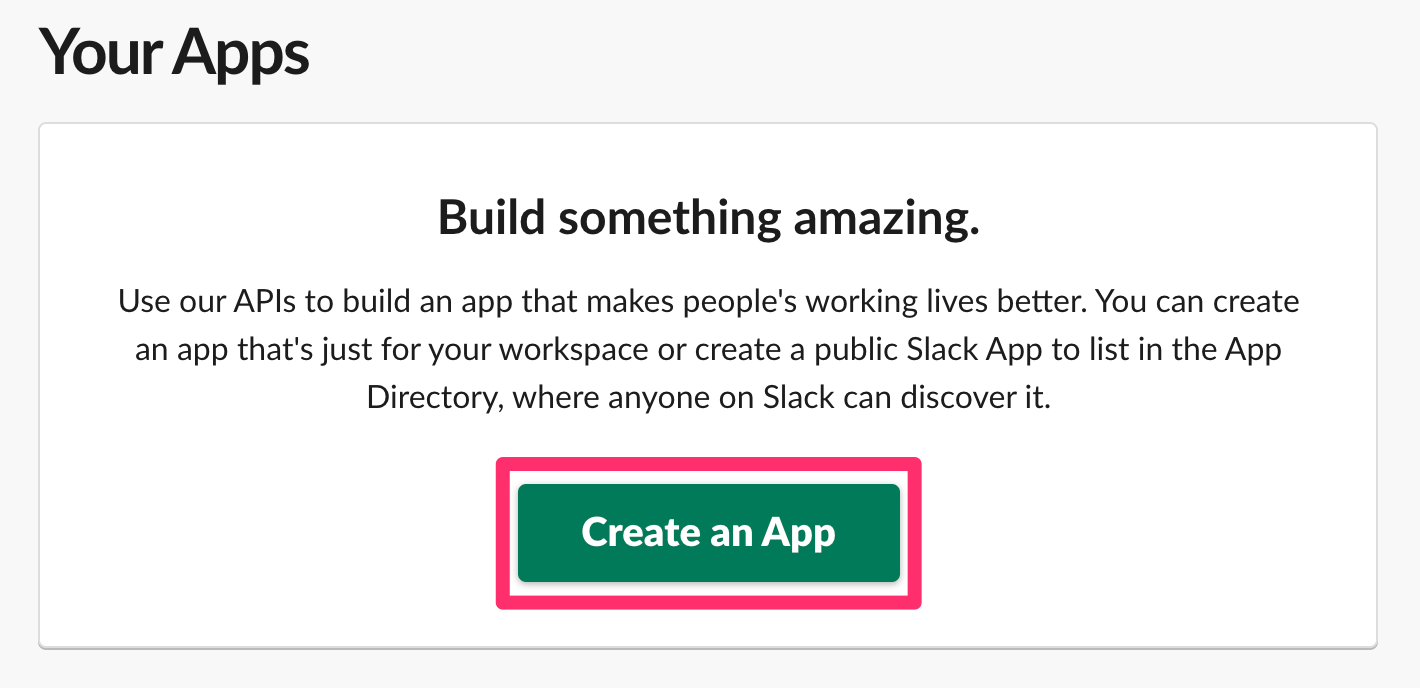
Slack API のアプリページ (opens new window)に移動し Create an App をクリックします。
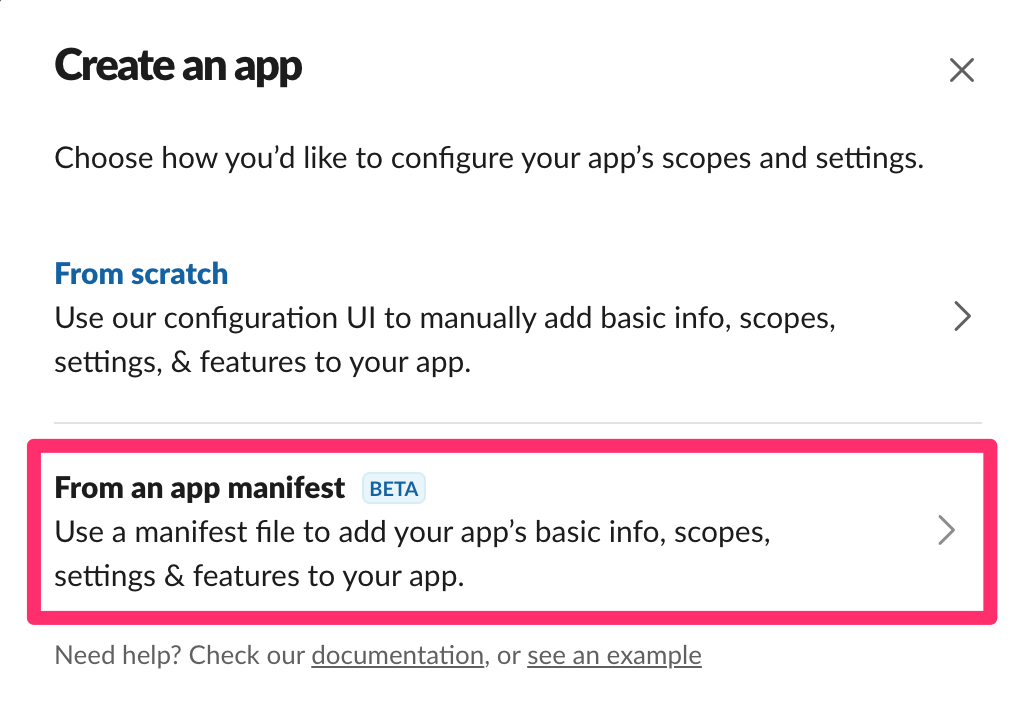
From an app manifest をクリックします。
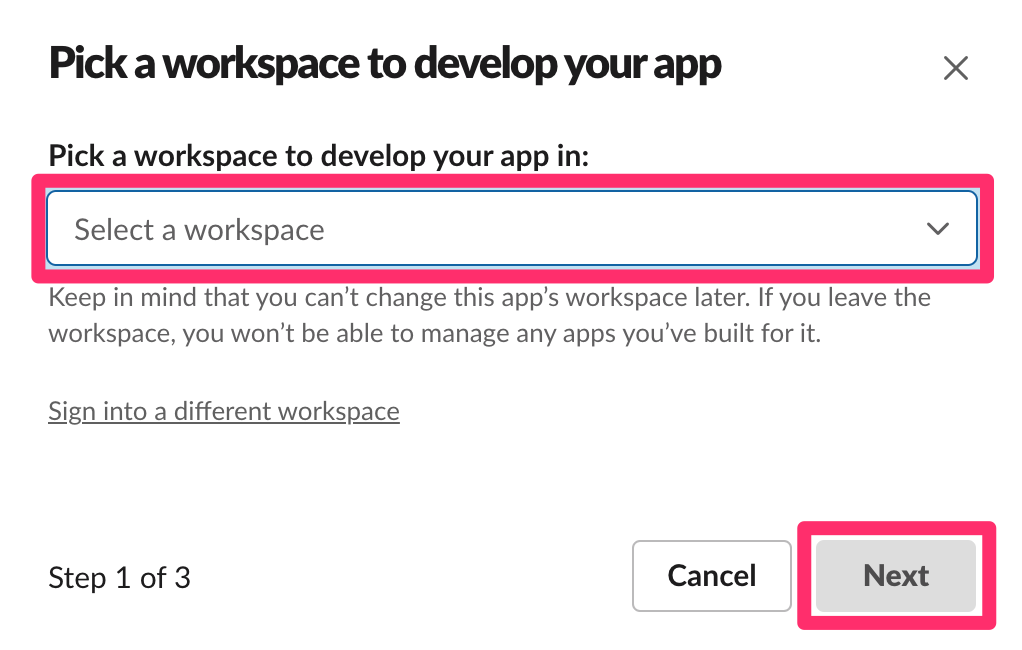
- アプリをインストールするワークスペースを選択して Next をクリックします。
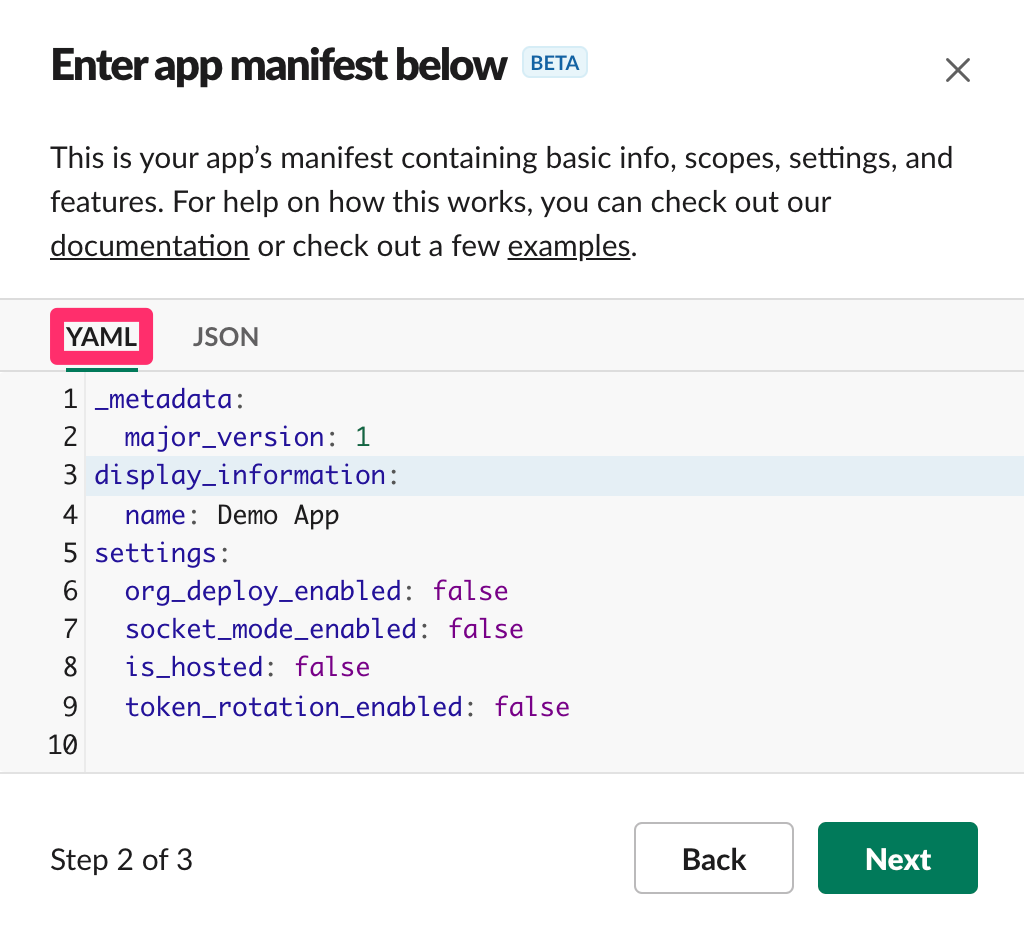
- YAML タブに以下の App Manifest を貼り付けて Next をクリックします。
_metadata:
  major_version: 1
  minor_version: 1
display_information:
  name: GROWI BOT
features:
  bot_user:
    display_name: GROWI BOT
    always_online: false
  slash_commands:
    - command: /growi
      url: https://{Slackbot Proxy のドメイン名}/slack/commands
      description: Test Bot
      should_escape: false
  unfurl_domains:
    - {Slackbot Proxy の URL}
oauth_config:
  redirect_urls:
    - https://{Slackbot Proxy のドメイン名}/slack/oauth_redirect
  scopes:
    bot:
      - channels:history
      - channels:join
      - chat:write
      - chat:write.public
      - commands
      - groups:history
      - im:history
      - links:read
      - links:write
      - mpim:history
      - team:read
settings:
  event_subscriptions:
    request_url: https://{Slackbot Proxy のドメイン名}/slack/events
    bot_events:
      - link_shared
  interactivity:
    is_enabled: true
    request_url: https://{Slackbot Proxy のドメイン名}/slack/interactions
  org_deploy_enabled: false
  socket_mode_enabled: false
  token_rotation_enabled: false
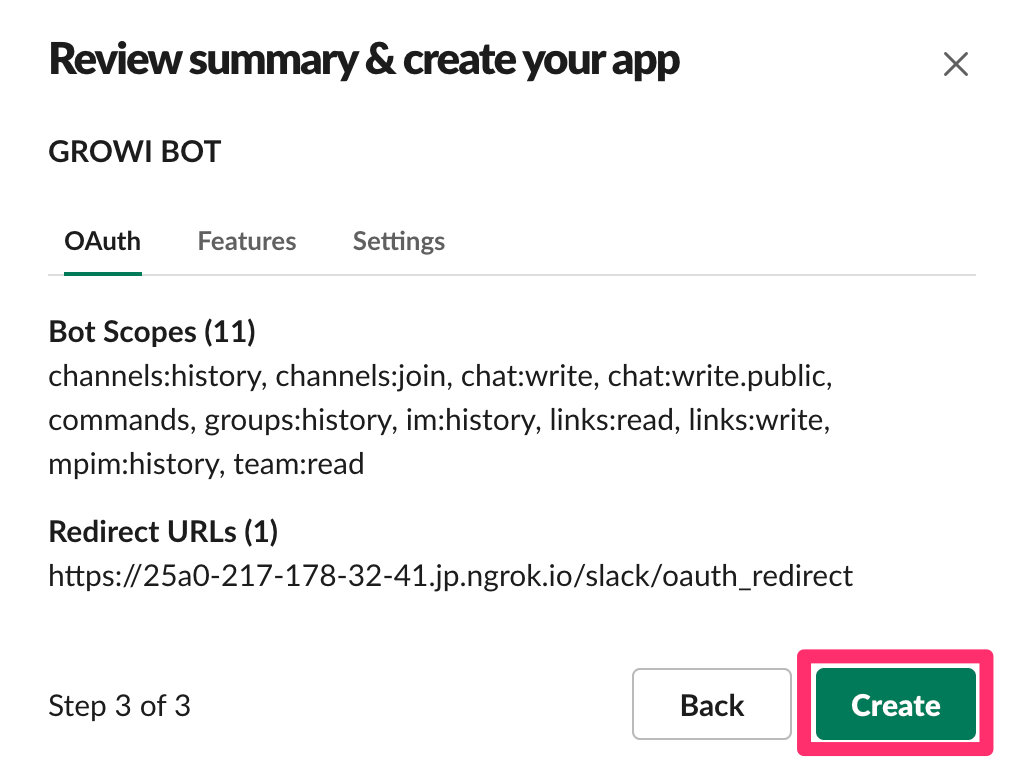
- アプリの概要を確認したら Create をクリックしてアプリを作成します。
# Slackbot Proxy を立ち上げる
packages/slackbot-proxyの配下に 新規ファイル.env.development.localを作成します。- 作成したファイルに任意の環境変数
SERVER_URIを入力してください。
例: SERVER_URI=http://localhost:8080
- さらに、アプリページ (opens new window)から作成した Bot を選択し、
Basic Information>App Credentialsの項目を確認します。
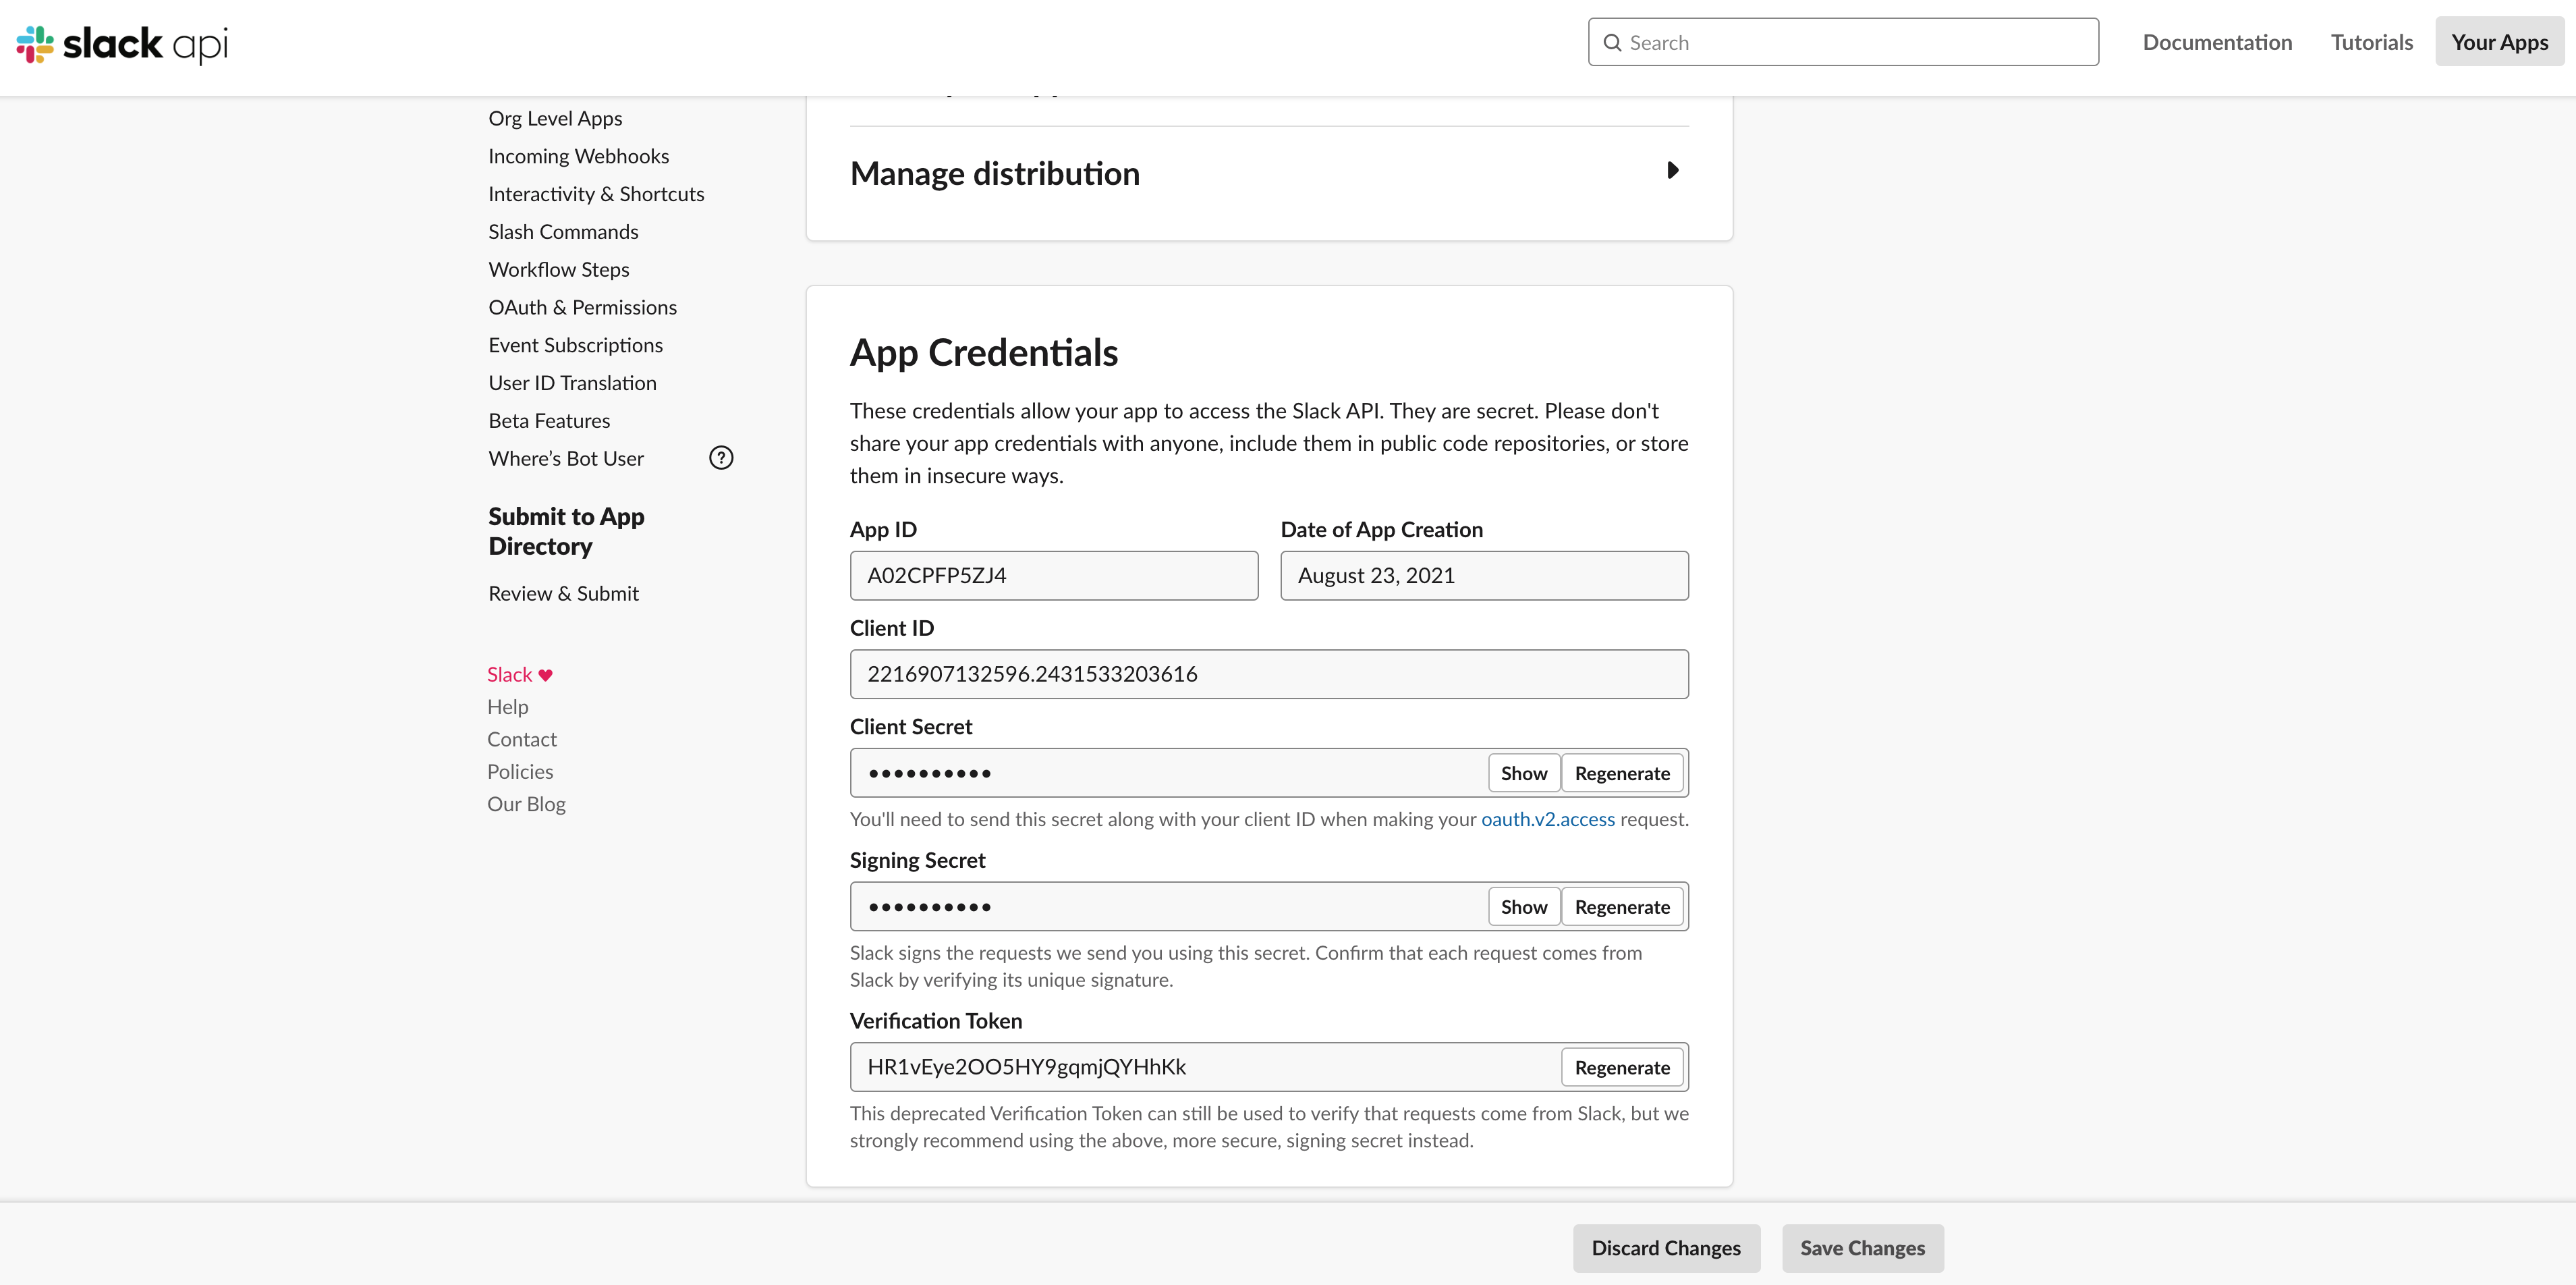
その中から Client ID、Client Secret、Signing Secret を以下のように .env.development.local に追加します。
SERVER_URI={ Proxy の URI }
SLACK_CLIENT_ID={ Client ID }
SLACK_CLIENT_SECRET={ Client Secret }
SLACK_SIGNING_SECRET={ Signing Secret }
GROWI 本体サーバーとプロキシ用サーバー(
slackbot-proxy)の両方を立ち上げてください。
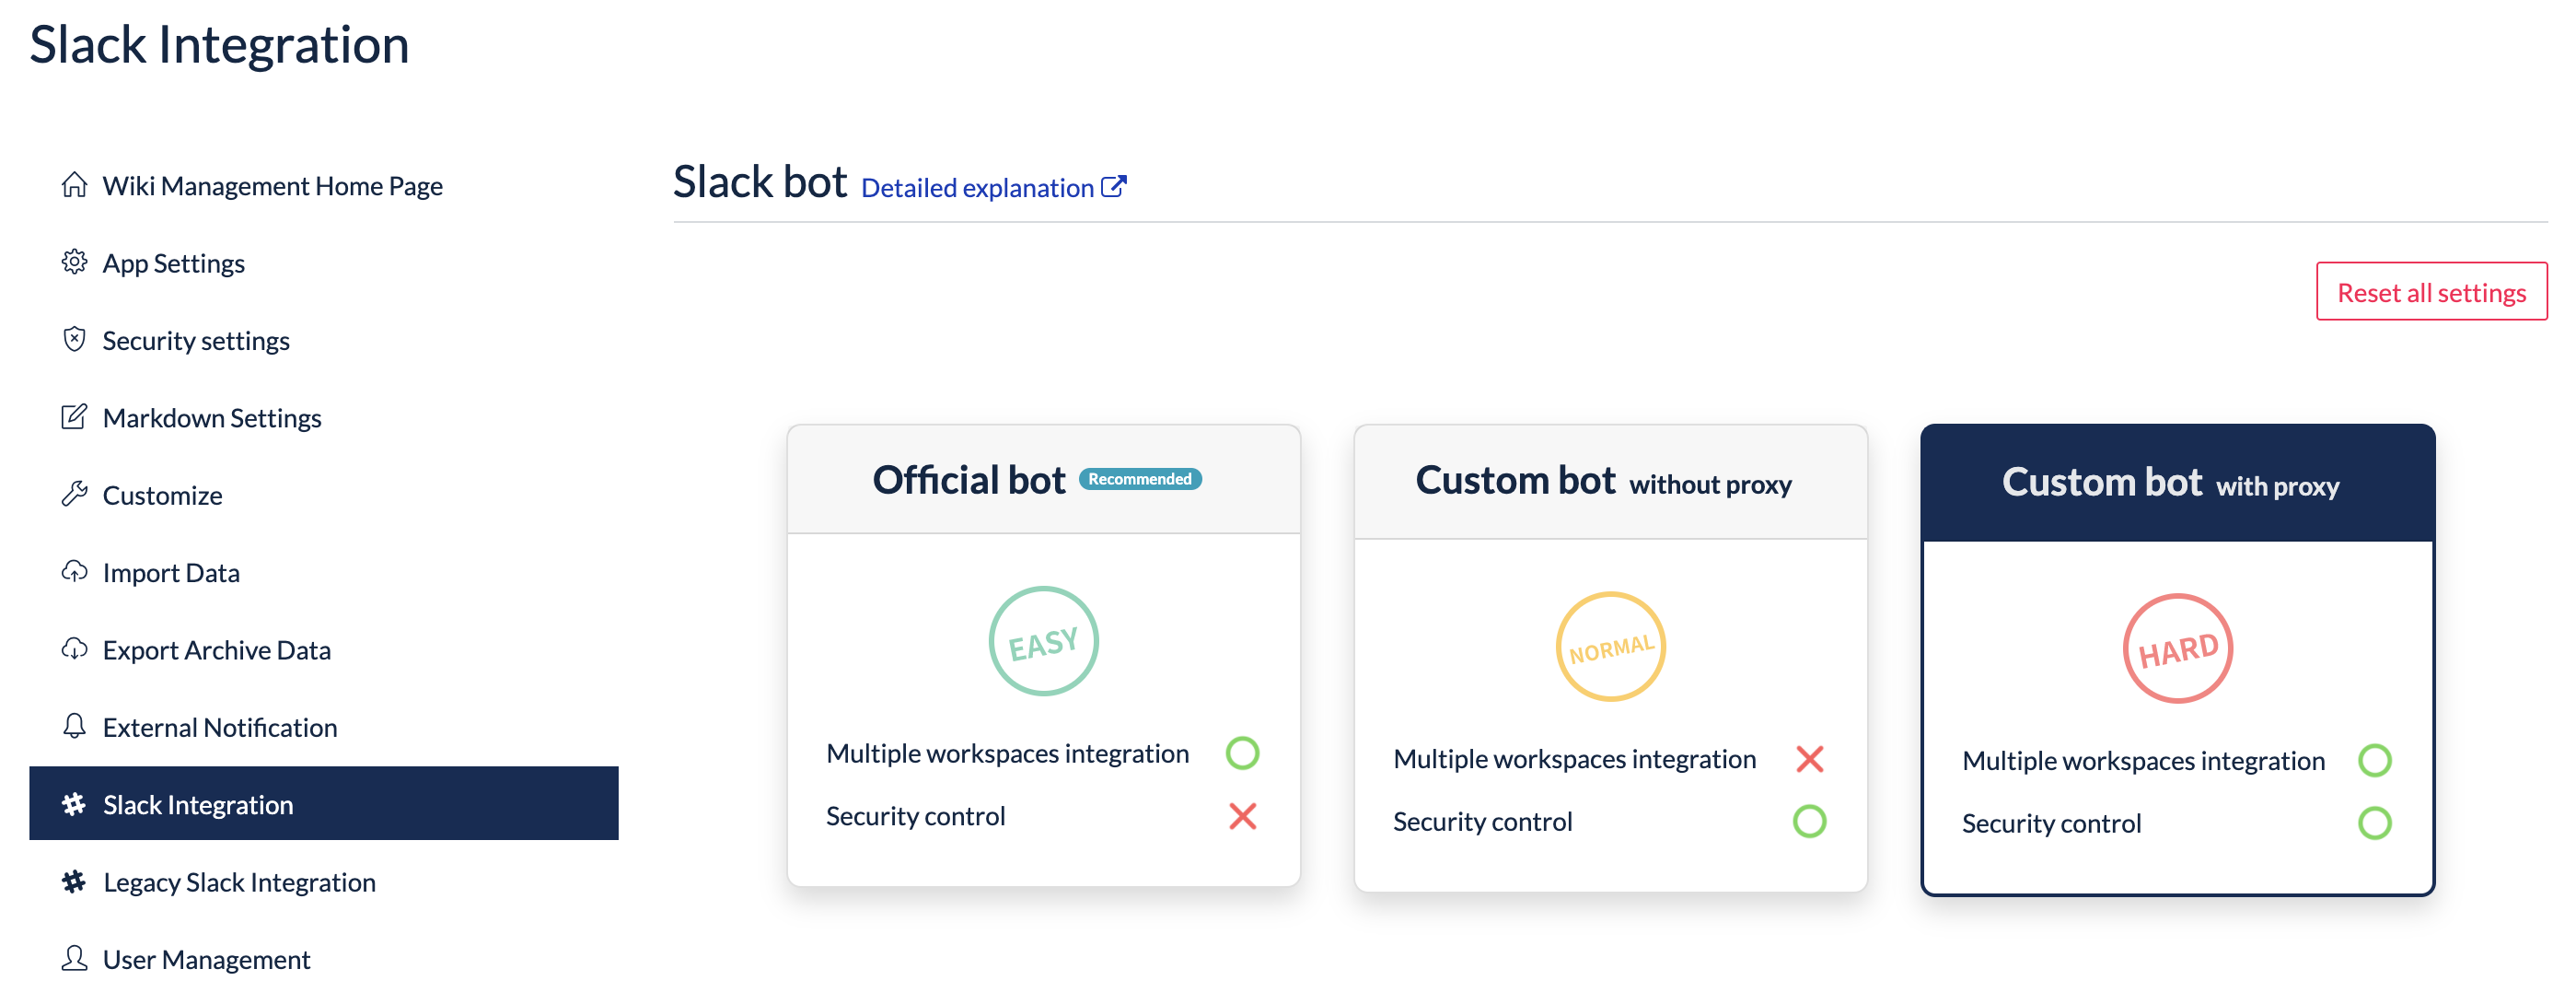
プロキシ用サーバーはyarn,yarn devで起動できます。管理画面の Slack 連携 にて Custom bot with proxy を選択してください。
# Custom bot with proxy を Slack のワークスペースへインストールする
作成した Slack App の Settings から Manage distribution をクリックします。
Share Your App with Other Workspaces の 4 つの項目全てにチェックマークがついたら、Activate Public Distribution を押します。

ページ上部の Add to Slack ボタンを押します。
遷移先の画面にて、Allow をクリックします。
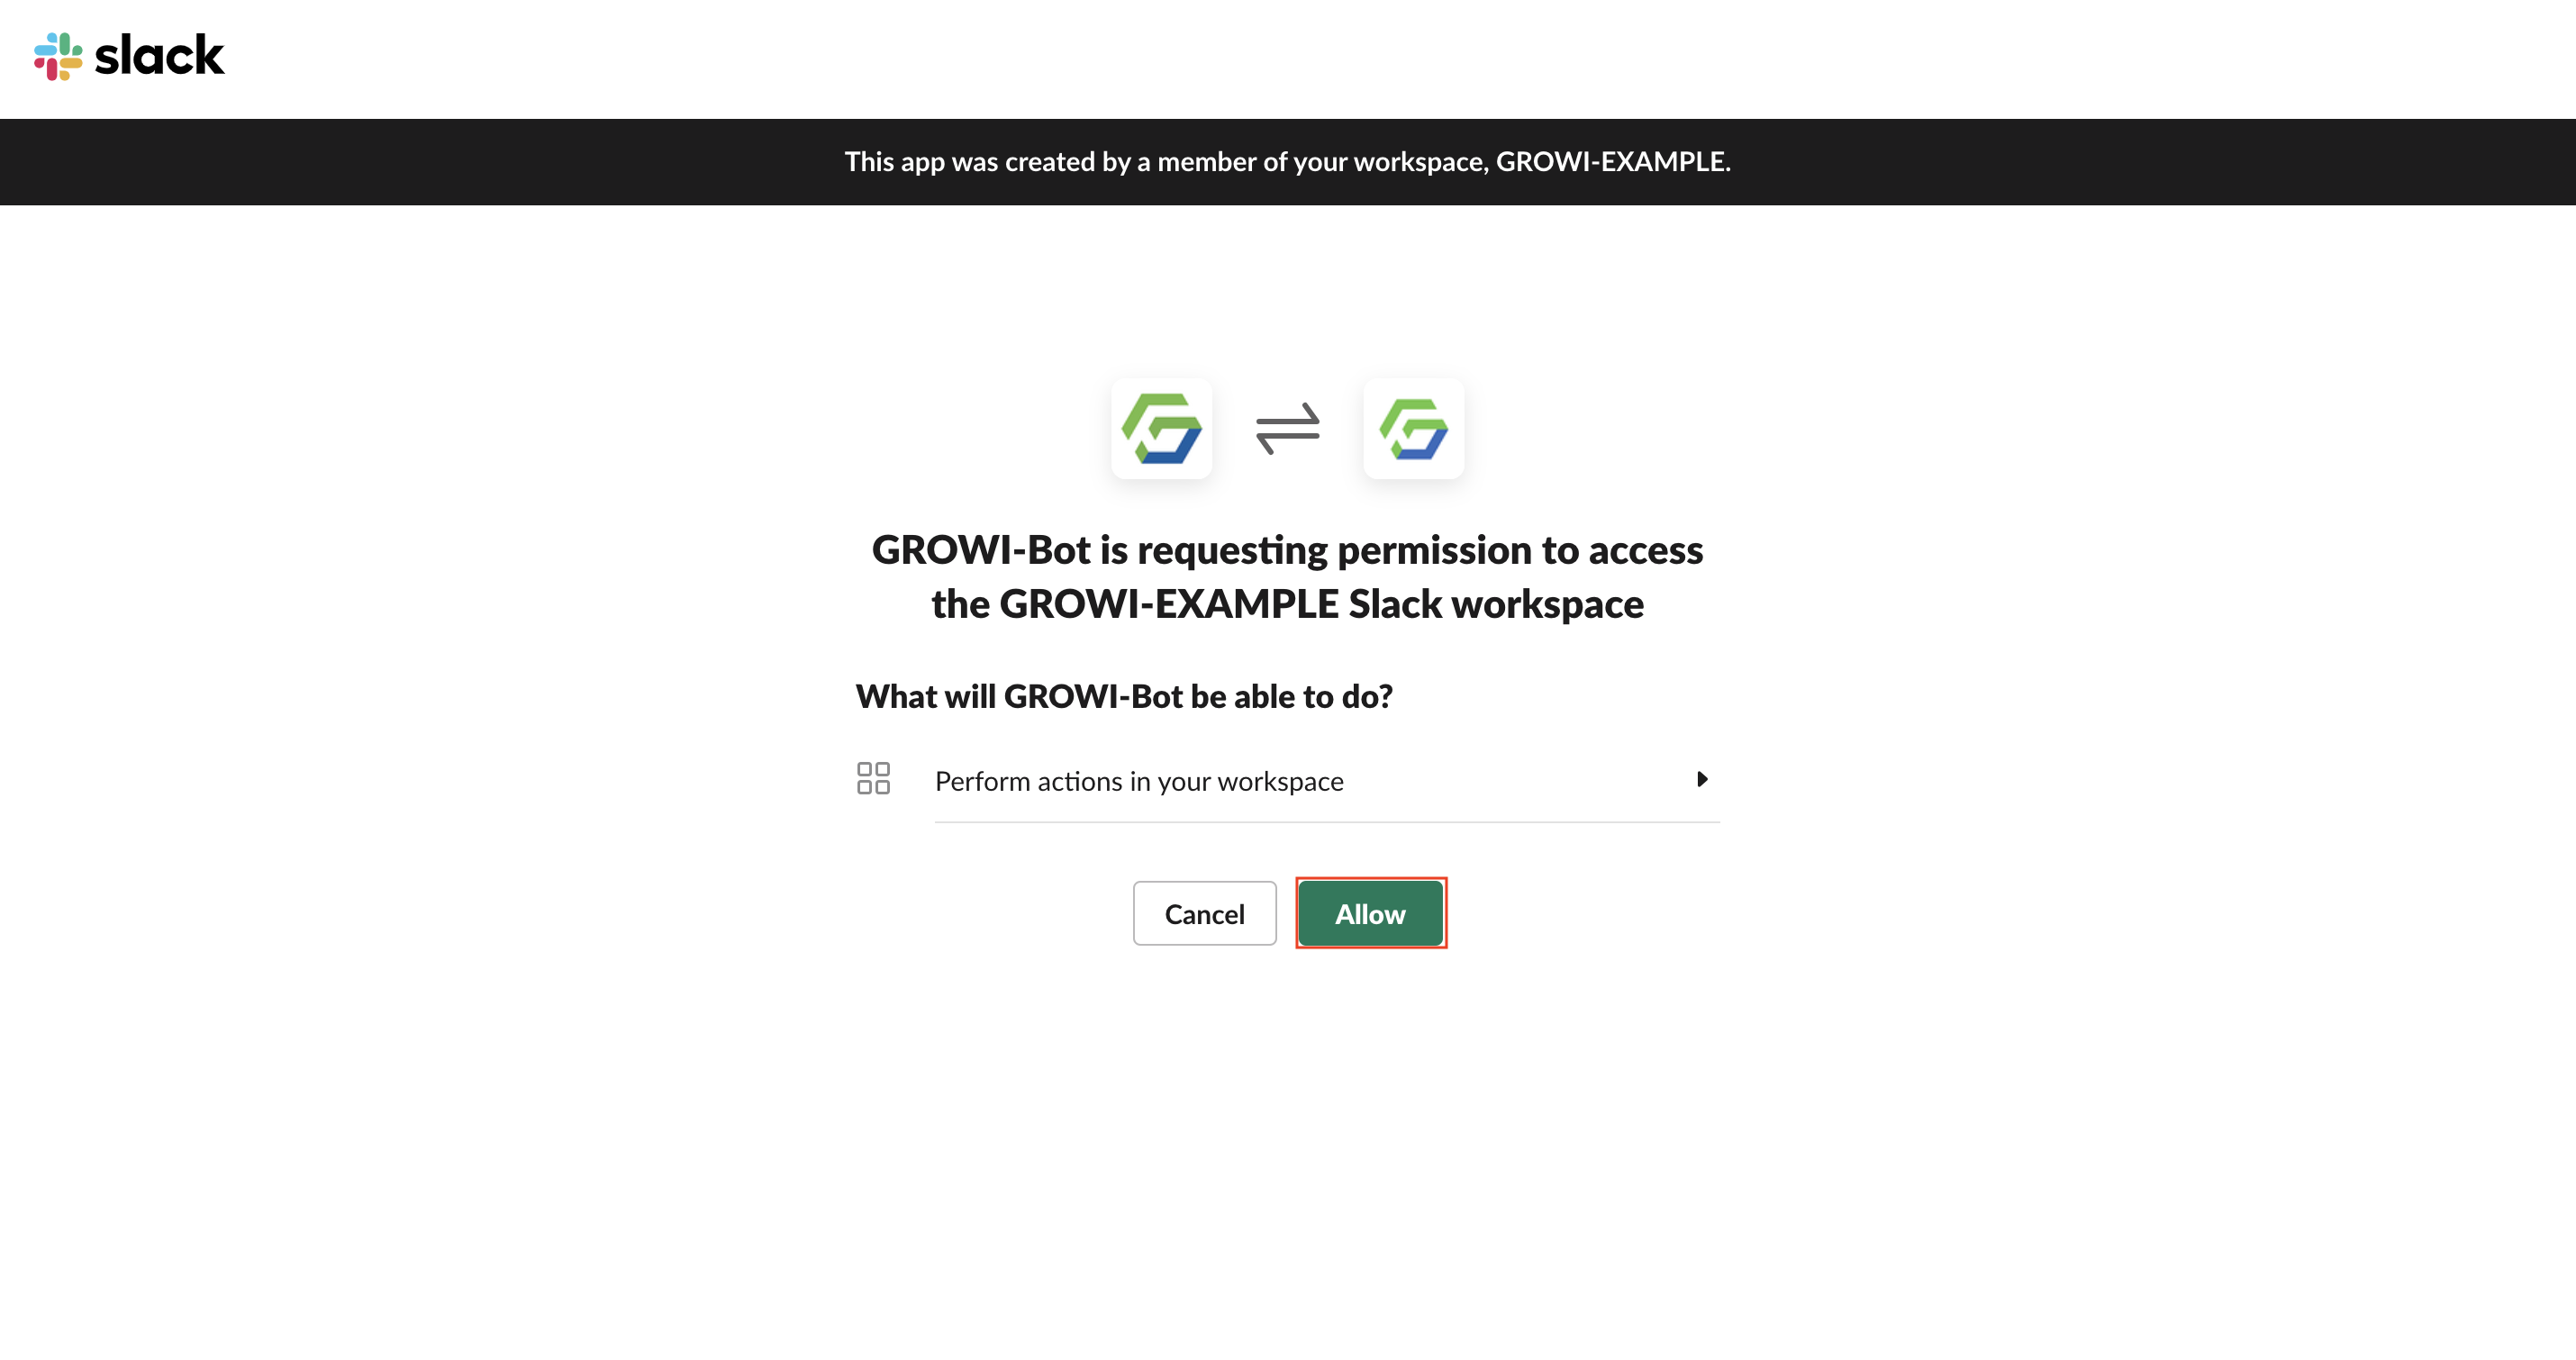
Congratulations! と表示されたら Install が完了です。
GROWI bot を使いたいチャンネルに @example を使用して招待します。


WARNING
Illegal state, try it again.と表示される場合は、Go to install page を押し、 Add to Slack から再度インストールしてください。GROWI Bot installation failed..と表示される場合は、Add to Slack ボタンから再度インストールしてください。
# GROWI Custom Bot with proxy サービスへの登録
GROWI Custom Bot with proxy サービスへの登録を開きます。
Access Token の発行 に各種トークンにアクセストークンが 2 種生成されていることを確認できます。 アクセストークンは必要に応じて再発行できます。Slack 上で
/growi registerと打ちます。
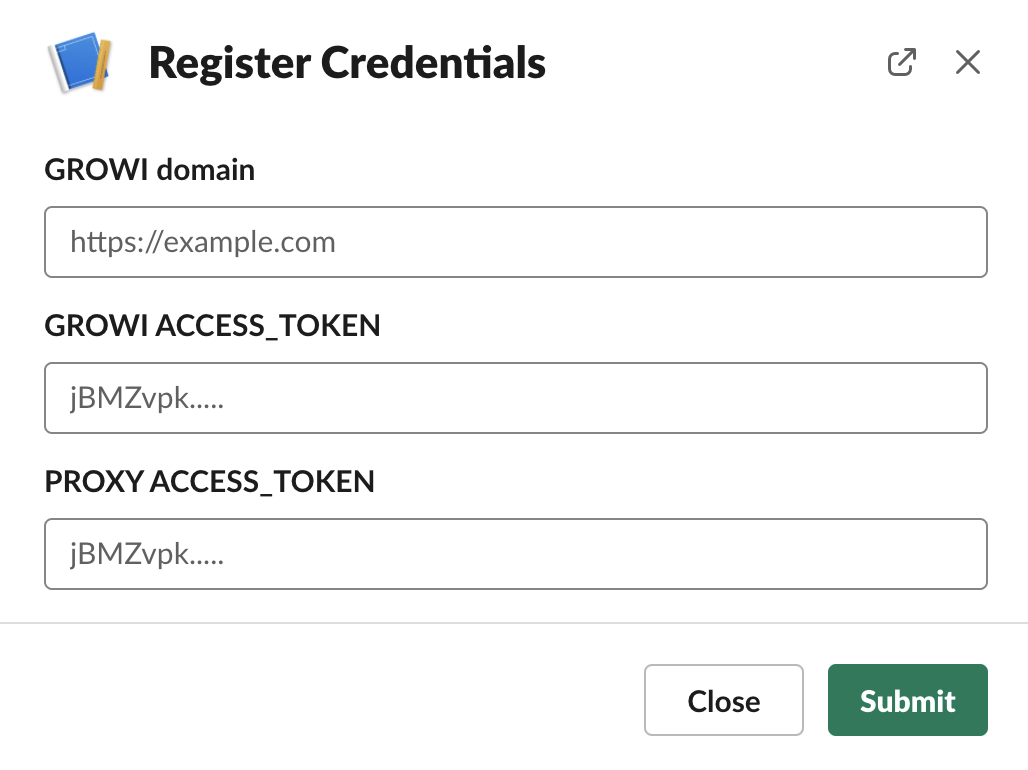
表示されるモーダルの GROWI URL に、対象 GROWI の URL を保存します。
上記で発行されている Access Token Proxy to GROWI と Access Token GROWI to Proxy を入れ Submit ボタンを押します。
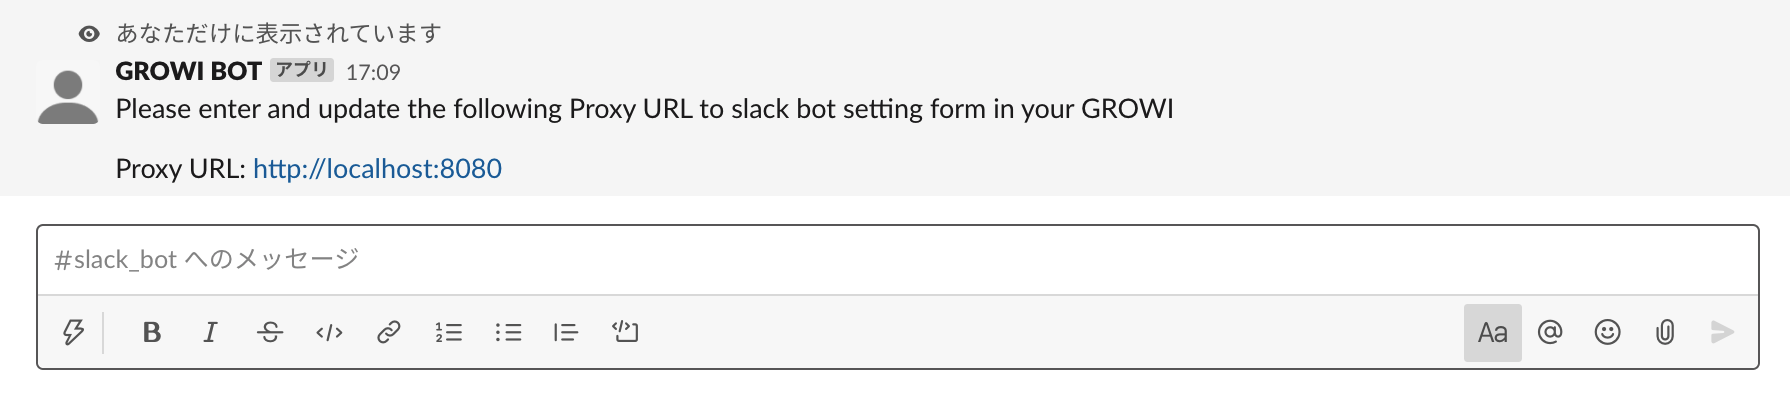
成功した場合、 proxy サーバーの URL が表示されます。
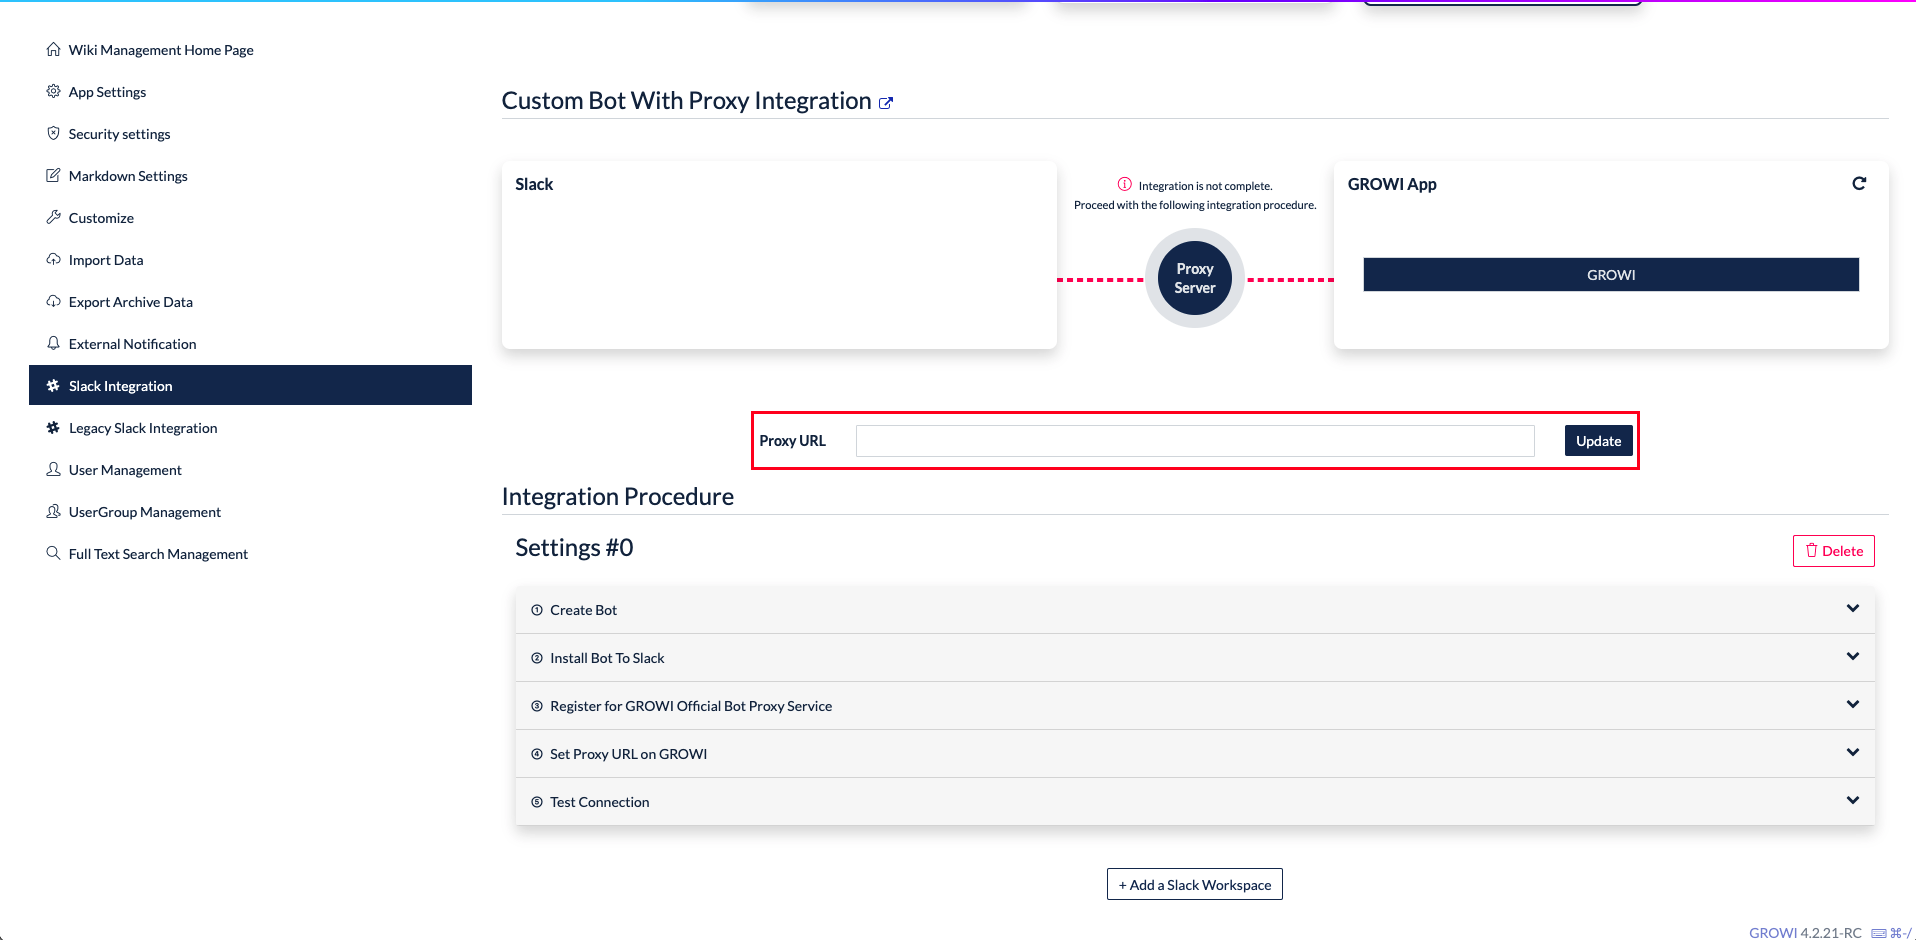
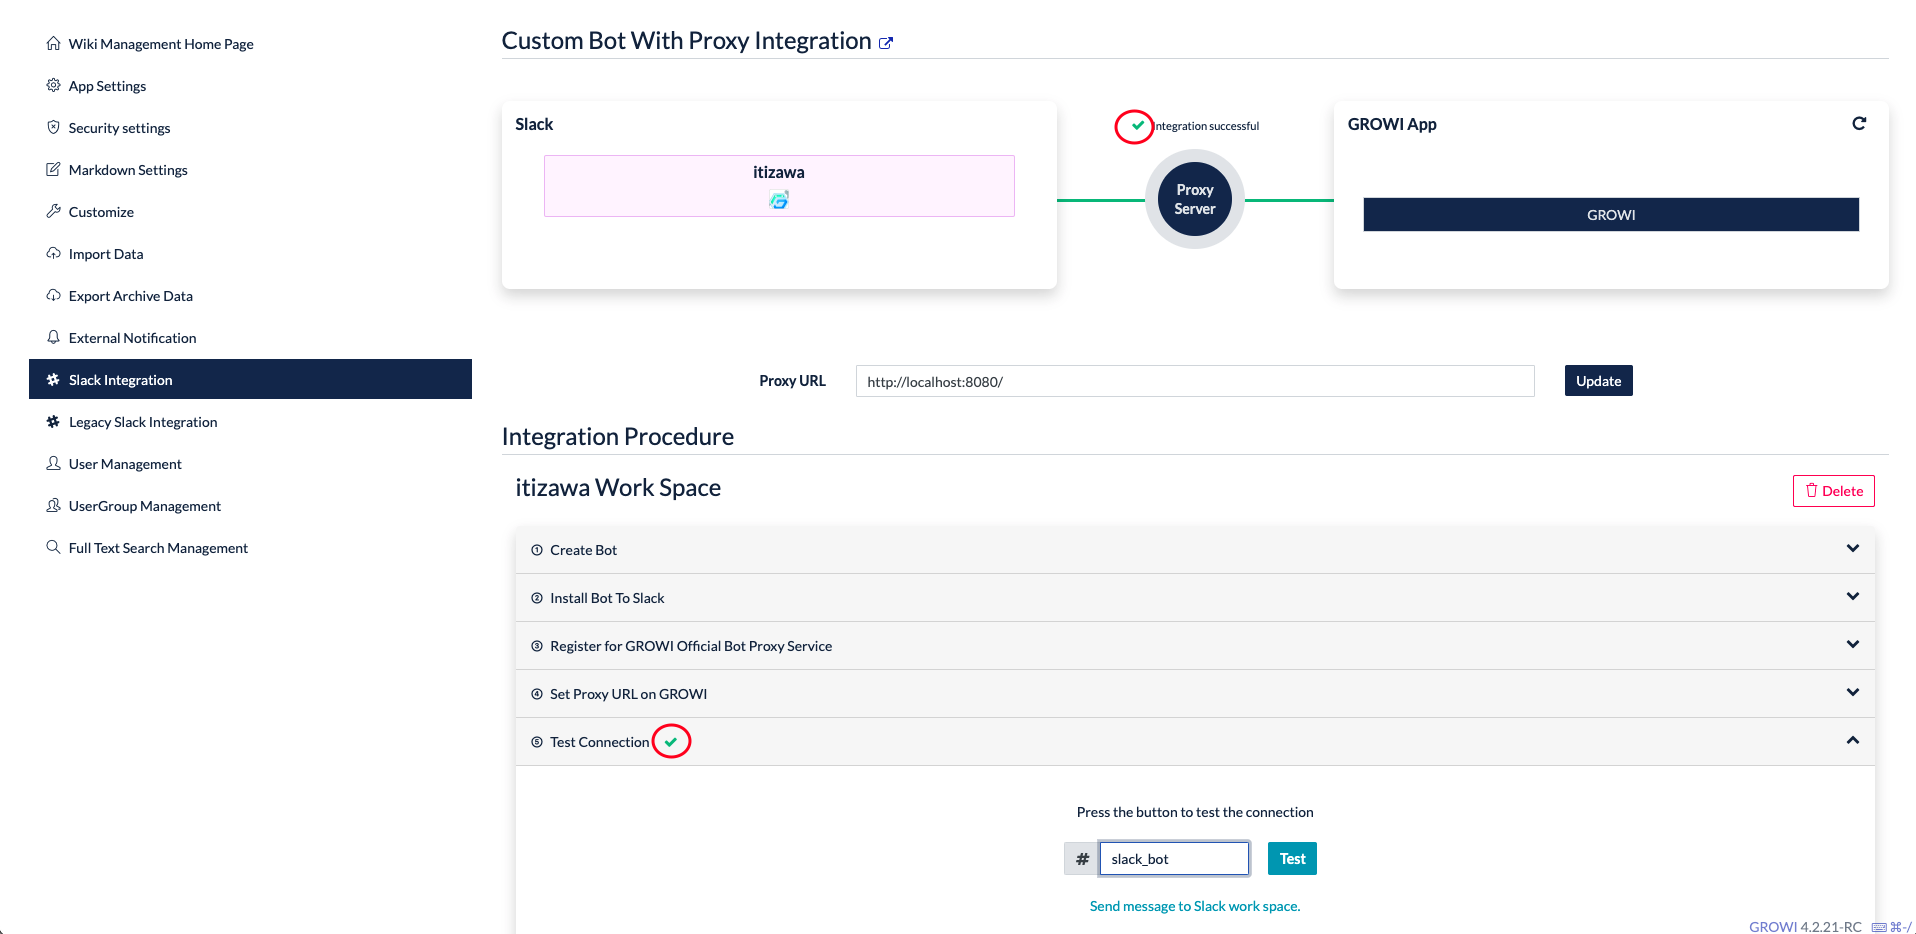
上記で取得した proxy サーバーの URL を Custom Bot With Proxy Integration の Proxy URL に入力し更新します。
# Custom bot with proxy の接続テストを実行する
「Test connection」をクリックし、GROWI-Bot を招待した Slack チャンネルを入力します。
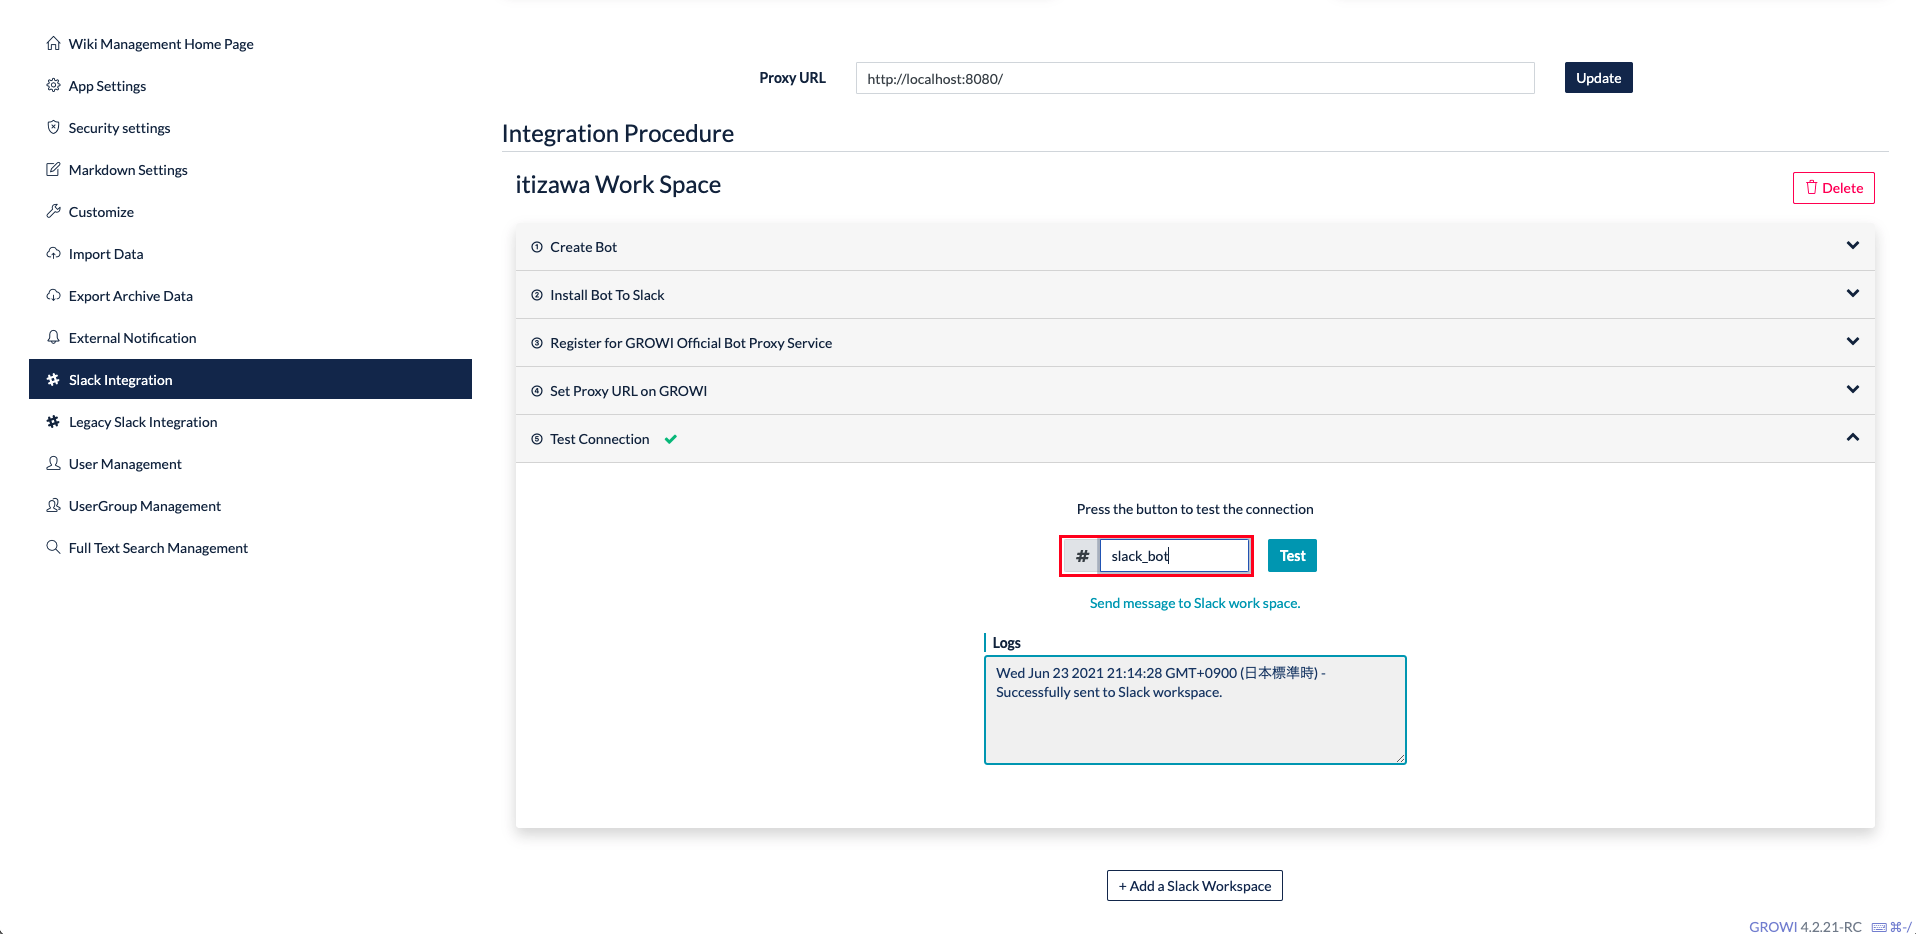
「Test」 ボタンをクリックします。
成功の場合
Successfully sent to Slack workspace. が Logs に表示され、 赤丸で囲った部分に緑色のチェックマークが表示されます。GROWI-Bot を招待した Slack チャンネルで確認してみましょう。GROWI 側
Slack 側

失敗の場合
接続テスト時のエラーログを参照してください。
全ての設定が完了したら GROWI bot でできることを参照してください。